

You have a few options left to import MBOX to GoDaddy. Either use an email client to move your file or use SysTools IMAP Importer-related tools to directly open the file. In this blog, I will tell you the freasons to upload MBOX file to GoDaddy account and tips to securely move it.
Reasons to Upload MBOX to GoDaddy Account
The above query is one of the reasons why users want to import the MBOX file. There are many other reasons to do it that I have mentioned below.
- You have an old MBOX file, which can be corrupted. In that case, saving it to GoDaddy allows you to keep your data safe and accessible on any platform.
- Storage in email client is full. To reduce the storage space, you are moving some of your data to GoDaddy.
- You are closing your MBOX-supported email account and switching to another one. In that case, you have to migrate its export file to your current account.
- Most users have two or more accounts, and managing these accounts is very difficult. So, if you move your emails to GoDaddy, you can get the benefits of its features, and managing them would be easier.
- From a professional perspective, GoDaddy offers you many features. That’s why some users switch from programs that support MBOX files to GoDaddy for branding. Also, moving your important emails to GoDaddy creates credibility and trust.
These are the common reasons why users want their MBOX file in their GoDaddy account. Now, let’s see how you can easily move your MBOX file.
How to Import MBOX File to GoDaddy?
You cannot manually directly move your files into GoDaddy. But you can import file in Thunderbird or any IMAP related email client and move them to the target account. This method can be lengthy, so I divided it into two sections. First, we connect the GoDaddy account to the client. Then, move the file. So, below are the steps for the first section.
- Before adding the account, first install the Import/Export Tools NG add-on.
- You can download it from the official website.
- Also, make sure that your GoDaddy account is connected to IMAP for configuration.
- Now, run the program on your computer.
- Go to the three-bar option at the top of the screen. Click on the Account Settings option from the drop-down list.
- Select the Mail Account Action option. Click on the Add Account button.
- Provide your GoDaddy username, email address, and password. Press the Continue button.
- The program automatically configures your IMAP settings. Click the Next button.
So, now your GoDaddy account is connected. Check if your account is added or not. Also, create a folder within your account. This is the folder where you save your MBOX file.
Move MBOX File to Configured GoDaddy Account
- Choose the folder that you have created and right-click it.
- Select the Import/Export Tools NG, then the Import MBOX option.
- Click on Import all individual files. Browse to the location where your MBOX file is stored.
- By clicking the Open button, all the files will now be moved to that folder.
- Now, individually move the emails to the GoDaddy inbox. So that you can also access your data in GoDaddy.
This is the manual way to get your MBOX file in GoDaddy. As you can see, it is a lengthy process. But if you follow the steps one by one, there will be no problems during the process. However, before you follow this method, it is advisable to plan your procedure. Plan it so that nothing goes wrong and you do not waste time during the procedure. What are these? Below, I have mentioned them.
Tips Before Importing MBOX File to GoDaddy
If you are moving bulk MBOX files to GoDaddy, then there are certain things that you should take into account before going through the above steps.
- First of all, check the size of your MBOX file and your GoDaddy mailbox size. If your mailbox is over its storage limit, then try to reduce its size.
- Properly check whether IMAP or POP3 is enabled or not. Also, check the server settings of the account.
- Make sure you have a strong internet connection.
- Create a copy of your MBOX beforehand, so that if you lose your data while uploading it, you will have the original emails.
These are the minor tips for everyone who wants to import their MBOX files into GoDaddy or any webmail account. Some of you may have problems importing the file, especially when GoDaddy did not properly sync with the client. Also, when you have to import the file into multiple GoDaddy accounts. You will need dedicated software that can make the process easier and faster.
Upload MBOX File to GoDaddy with Professional Tool
The technical import software that I mentioned at the start is a good method to import the file. Developed by an experienced team, this tool lets you move a full MBOX folder in your target account while preserving the original file content. With this, you get a date filter option that allows you to find specific emails from the file. Additionally, it is available on both Windows and macOS with a free demo version.
Steps to Use Software to Directly Import MBOX File
- Download and install the tool properly on your desktop.
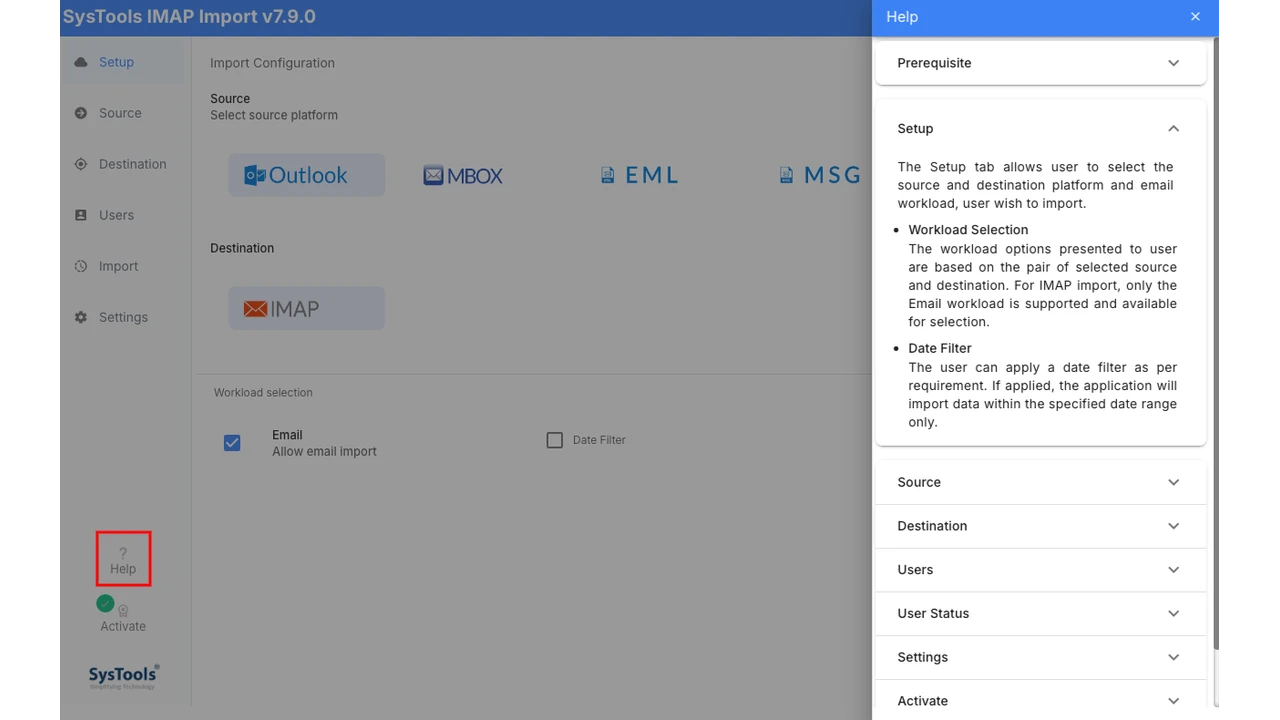
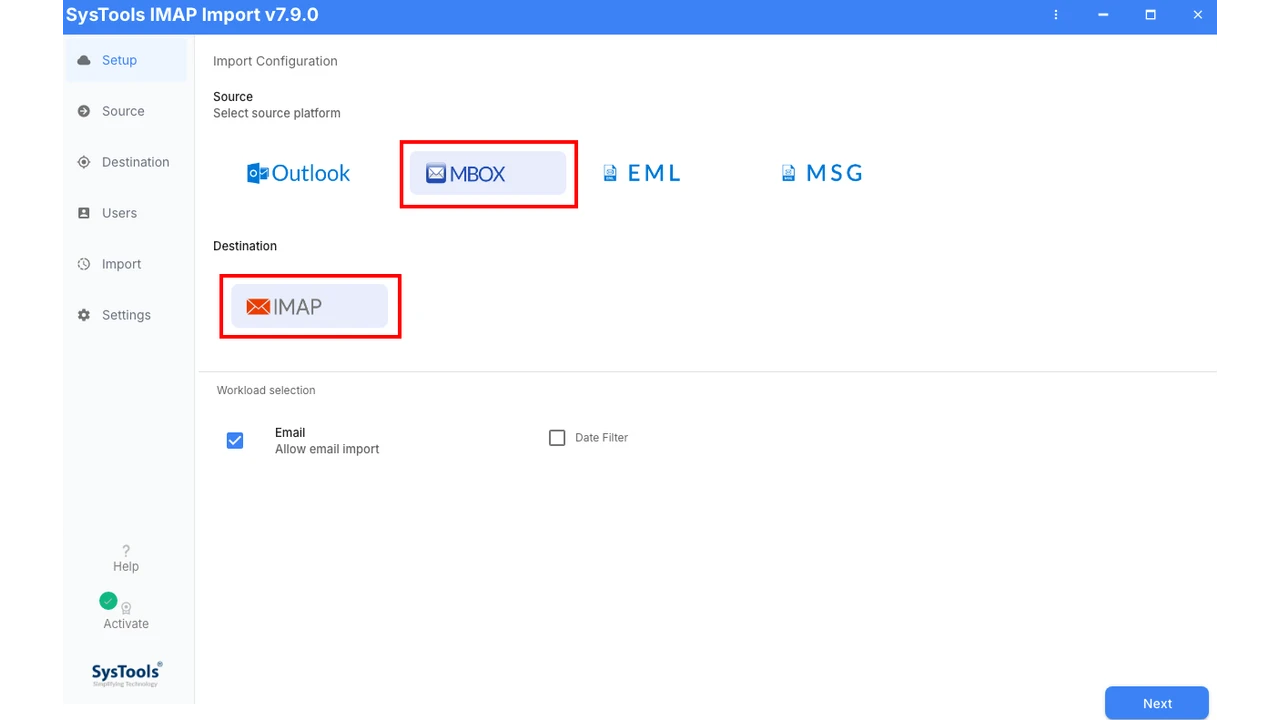
- Choose the MBOX file as the source and IMAP as the destination. Apply a date filter if you want.
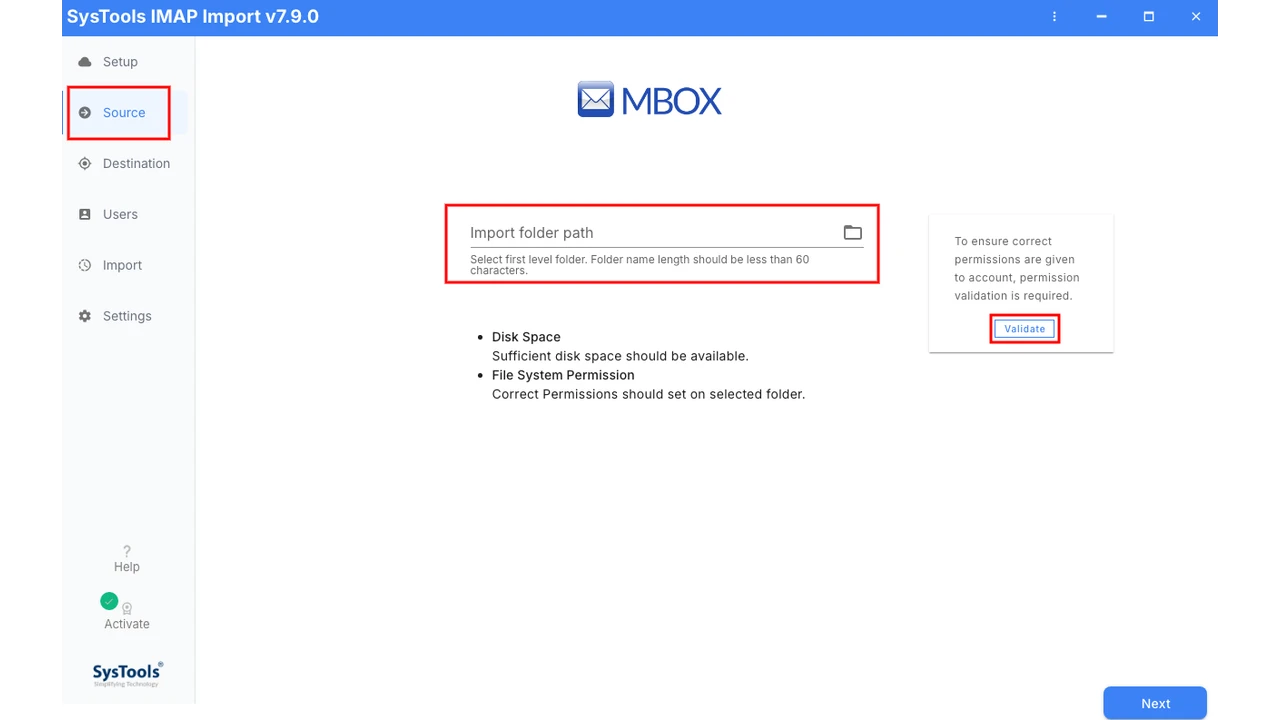
- In the source section, upload your MBOX folder from the local drive. Click the Validate button.
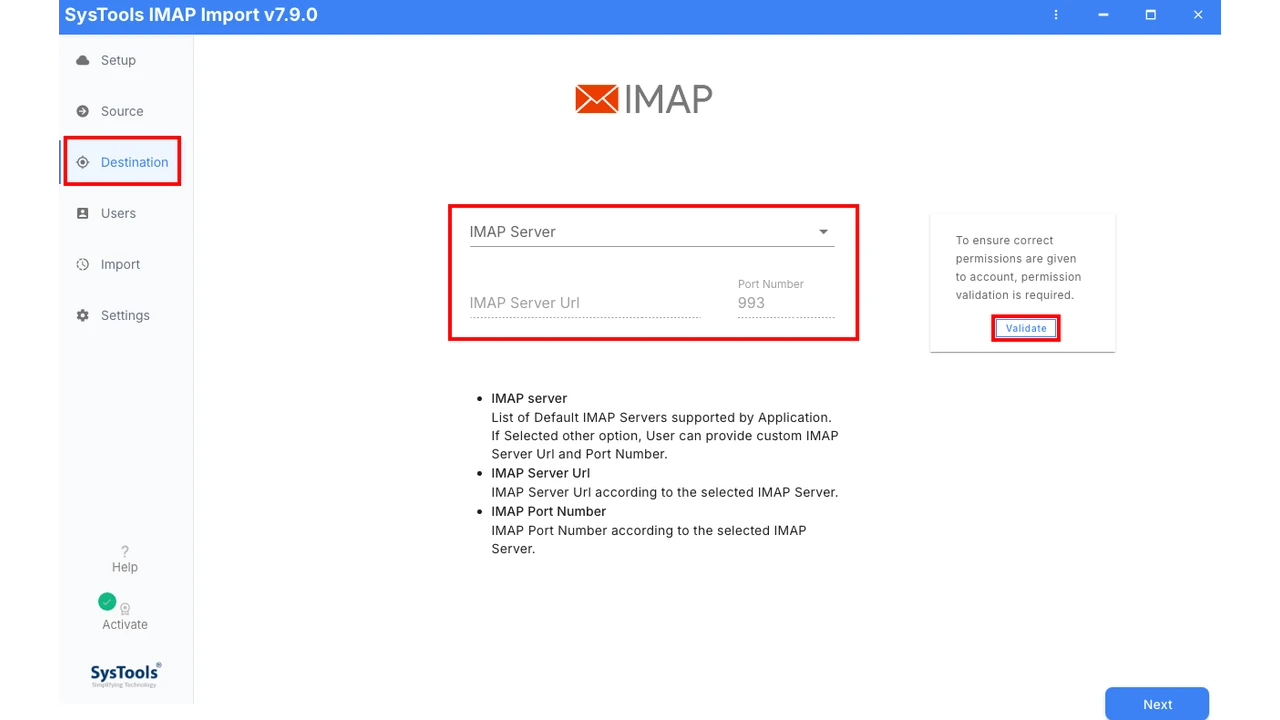
- Then, select the GoDaddy option from the destination IMAP server. Hit the Validate button.
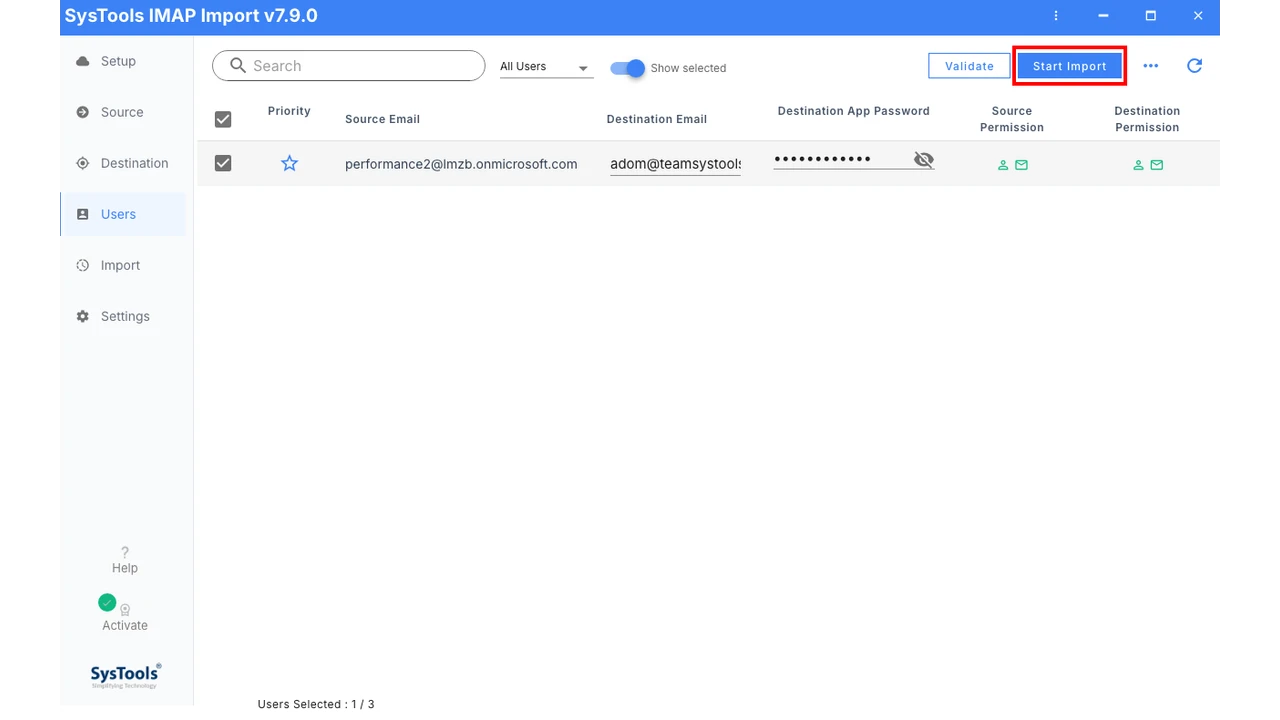
- Add the users’ source and destination IDs, then click the Start Import button.
In Conclusion
As you can see, there are not many options to import MBOX to GoDaddy. However, you have two ways that are enough to upload your file. The manual method requires email client to move the file to GoDaddy. Whereas the tool directly imports the file and also gives you many features. Whichever option you choose, make sure you follow the tips first.