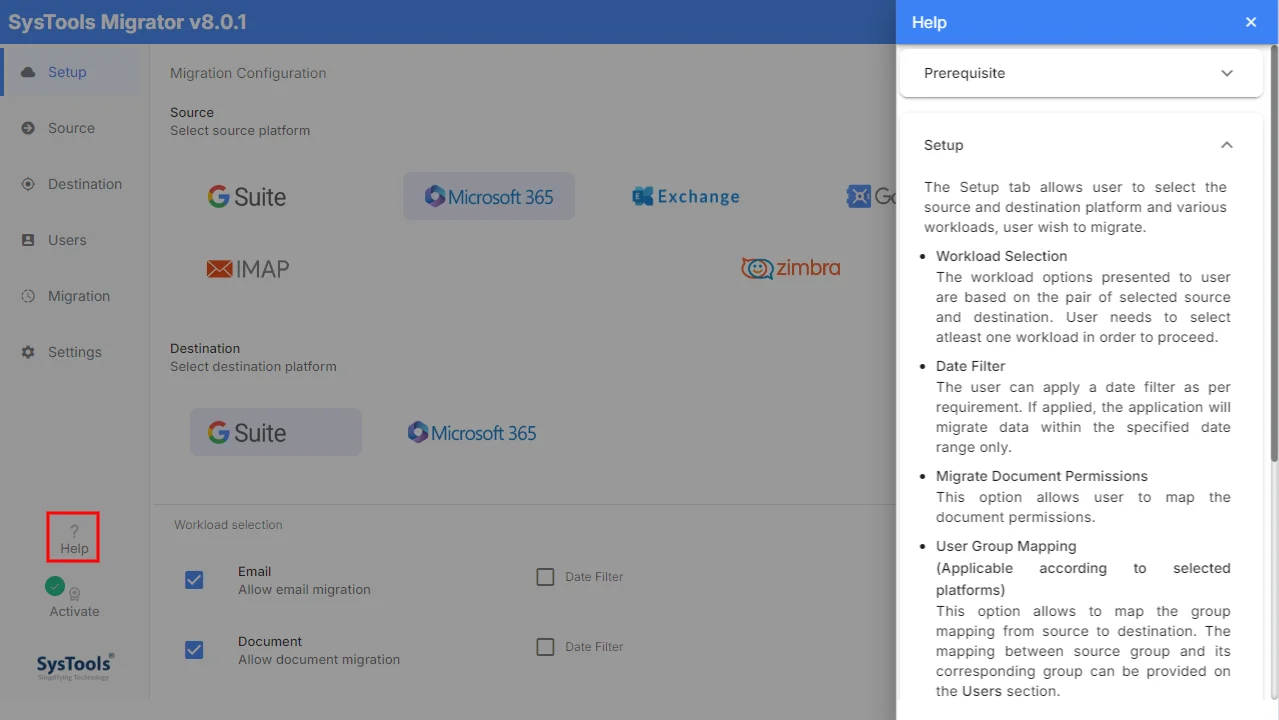
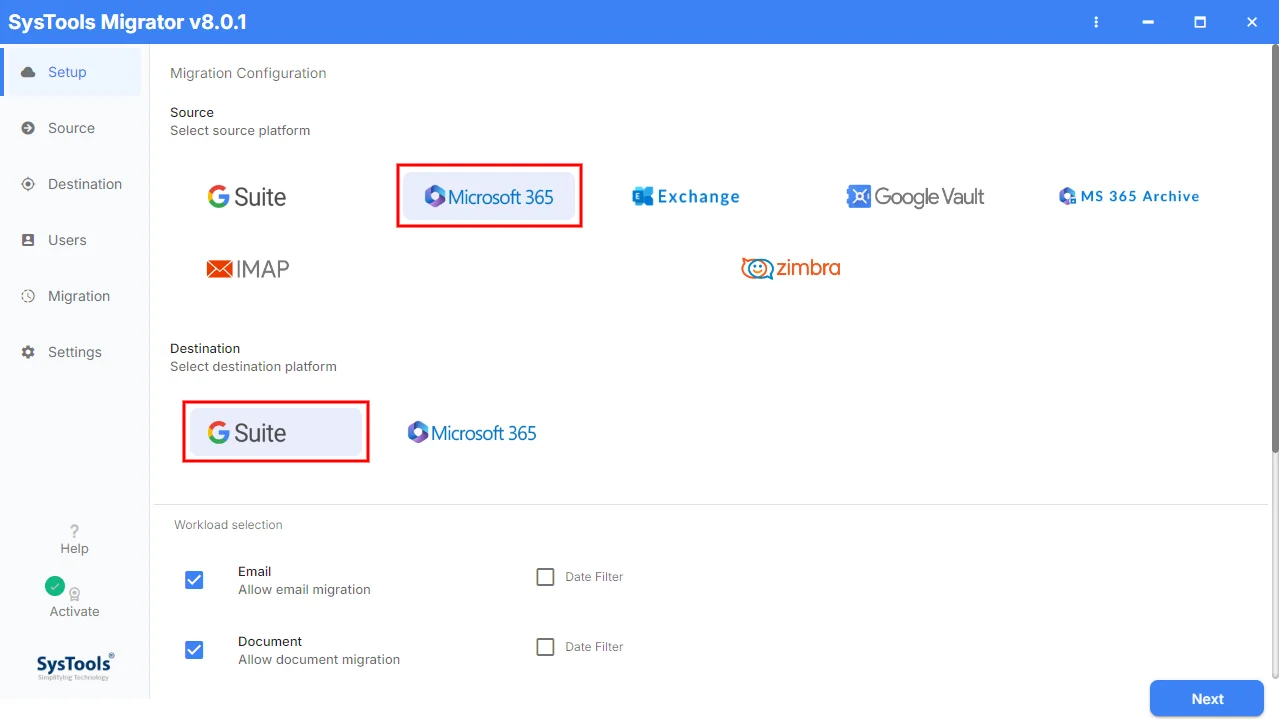
Follow step by step guide to Transfer OneDrive Files to Google Drive account using SysTools Migrator.
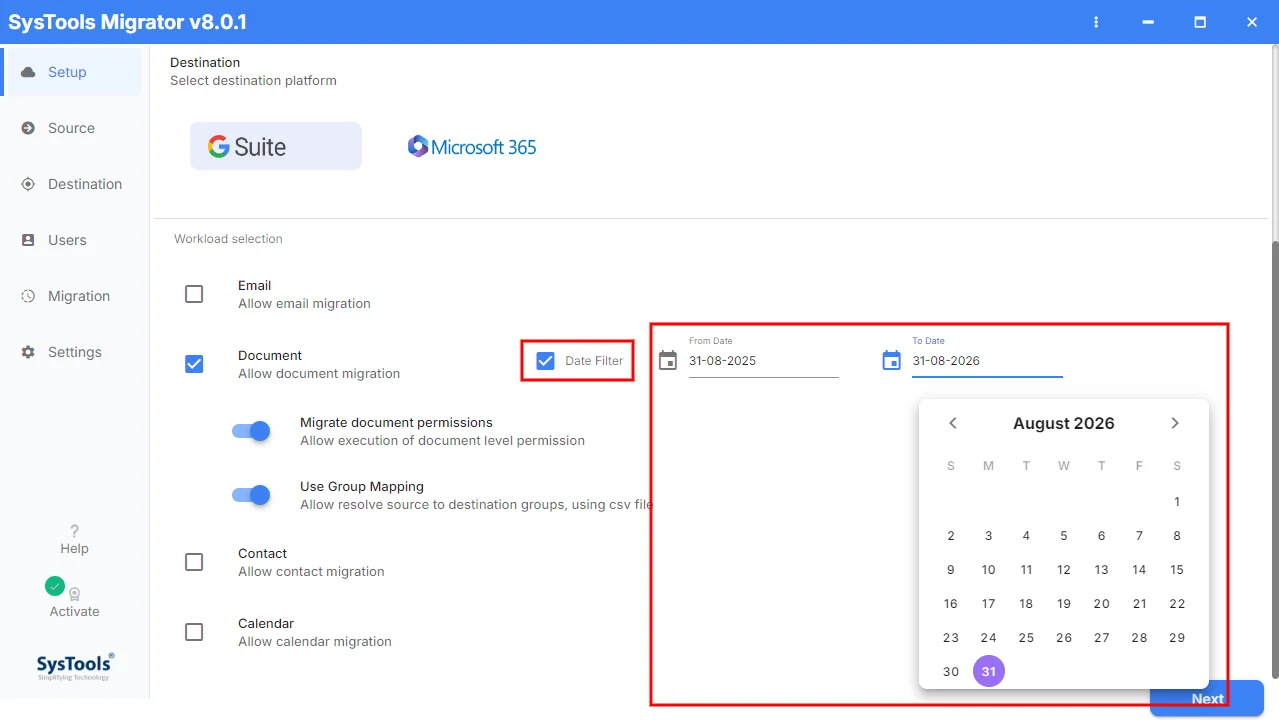
In workload selection, select the Category as “Documents” which you want to migrate from source to destination account.
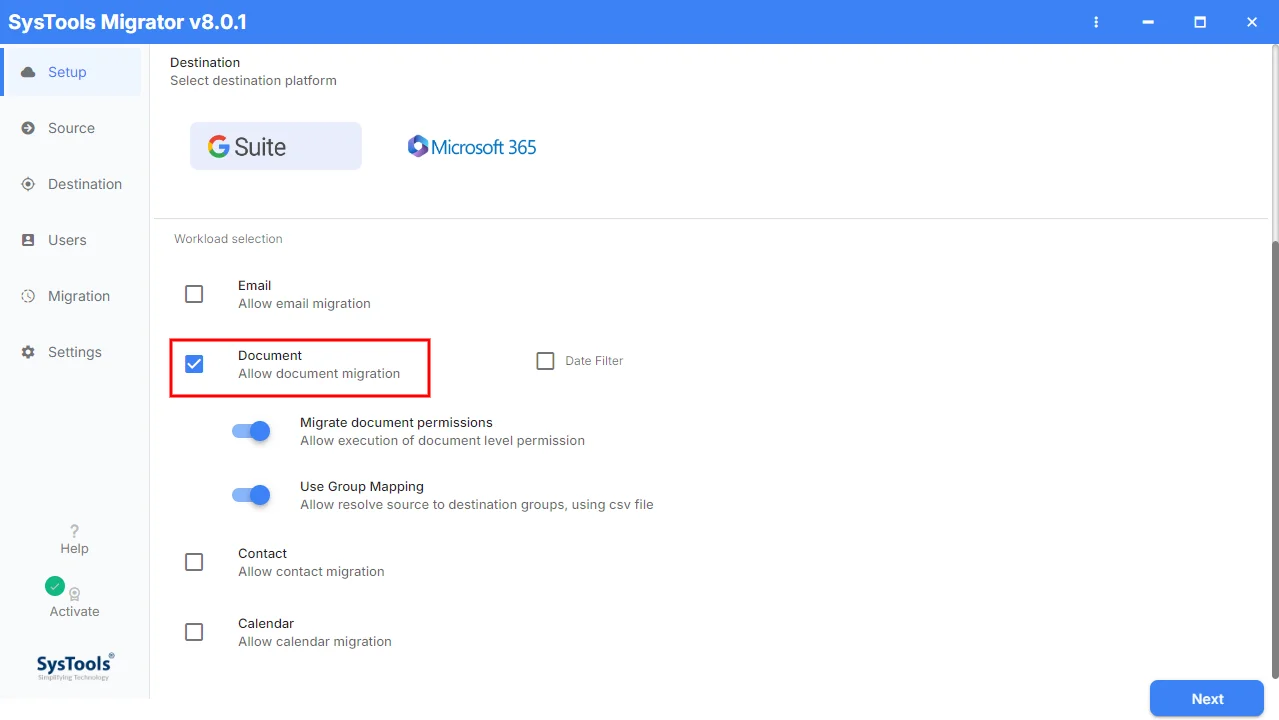
Additionally, use enable or disable ‘migrate document permissions’ & ‘user group mapping’ option. After that click on the Next button.
Migrate Document Permissions: This option allows to pass the document level permission from the source to the destination user account. It means the document which is shared and has permission for source user Id, enabling this option will allow transferring those document permission to destination account id.
User Group Mapping: This option allows to map the group mapping from source to destination. The mapping between the source group and its corresponding group can be provided on the Users section.
Through the Date Filter section, you can provide a date-range filter to migrate documents between certain date-range.
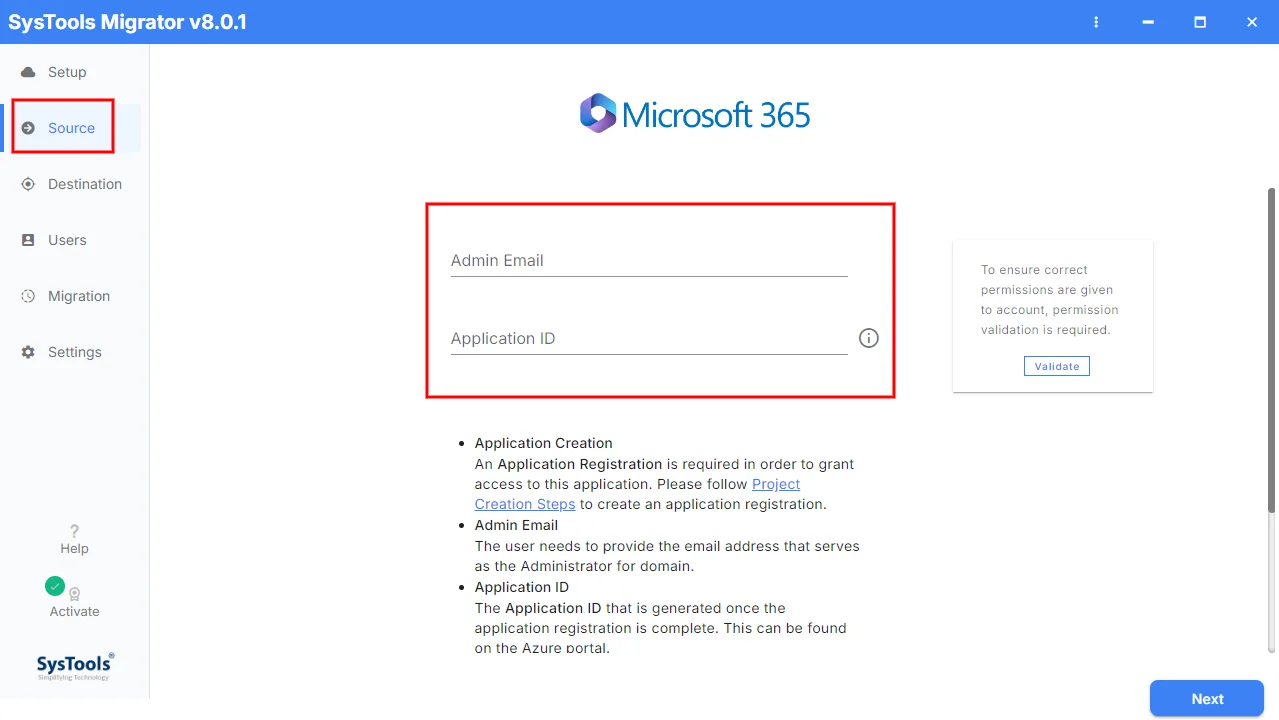
Now in the Source Office 365 window, enter Admin Email Id for the validation of the source platform. Also, provide the Application Id created during project creation. See how to create project for Office 365. Office 365 Project Creation Settings
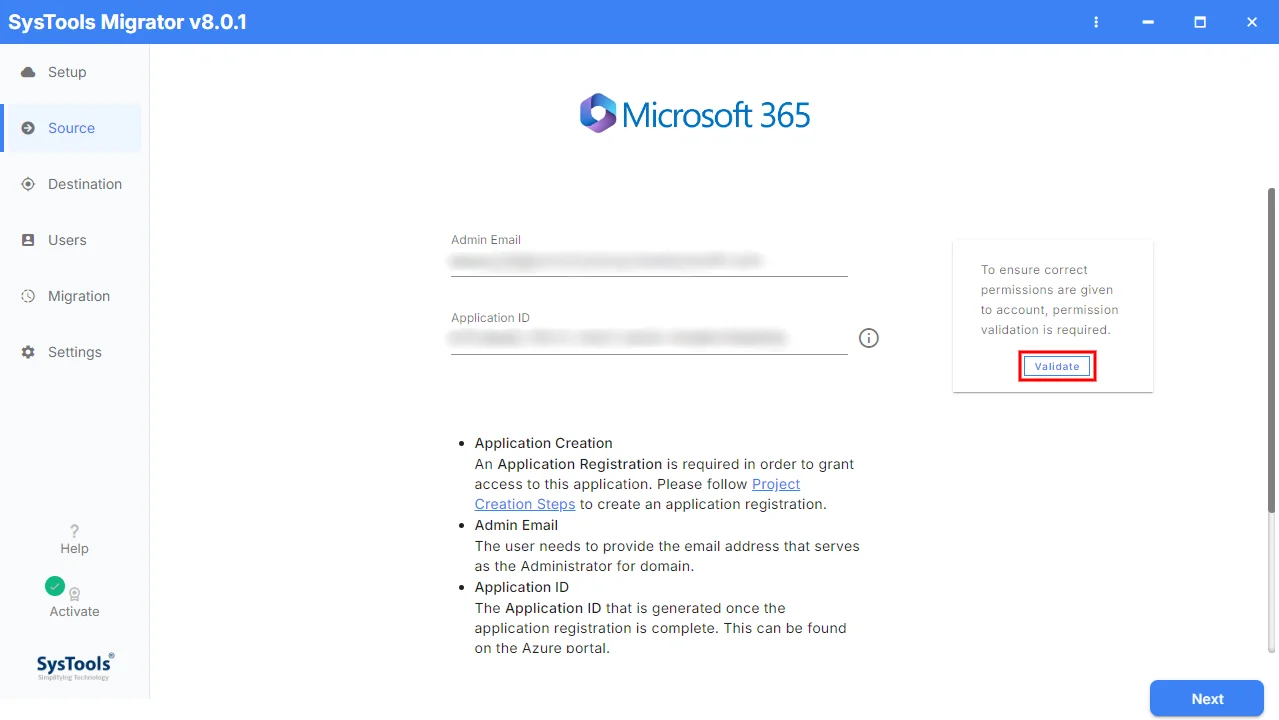
Once you have entered the credentials, click Validate to verify permissions.
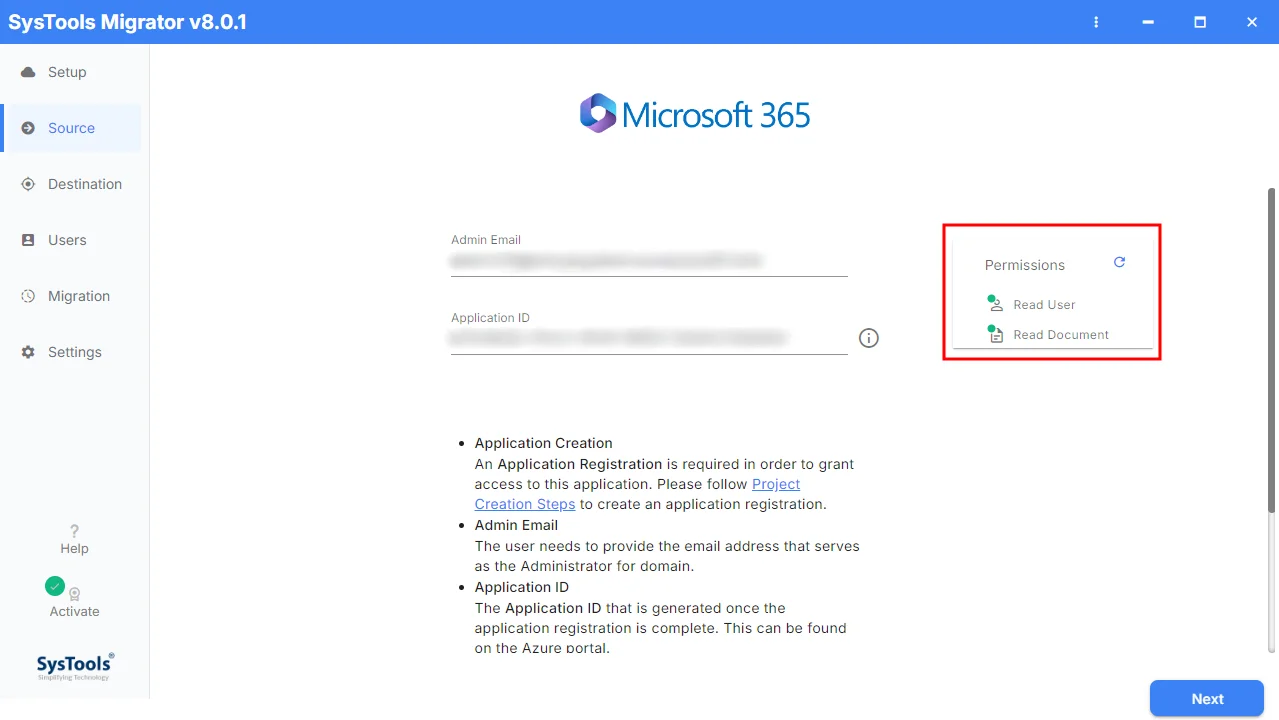
After validation, the required Read User and Read Document permissions are displayed. Verify the permissions and click Next to continue.
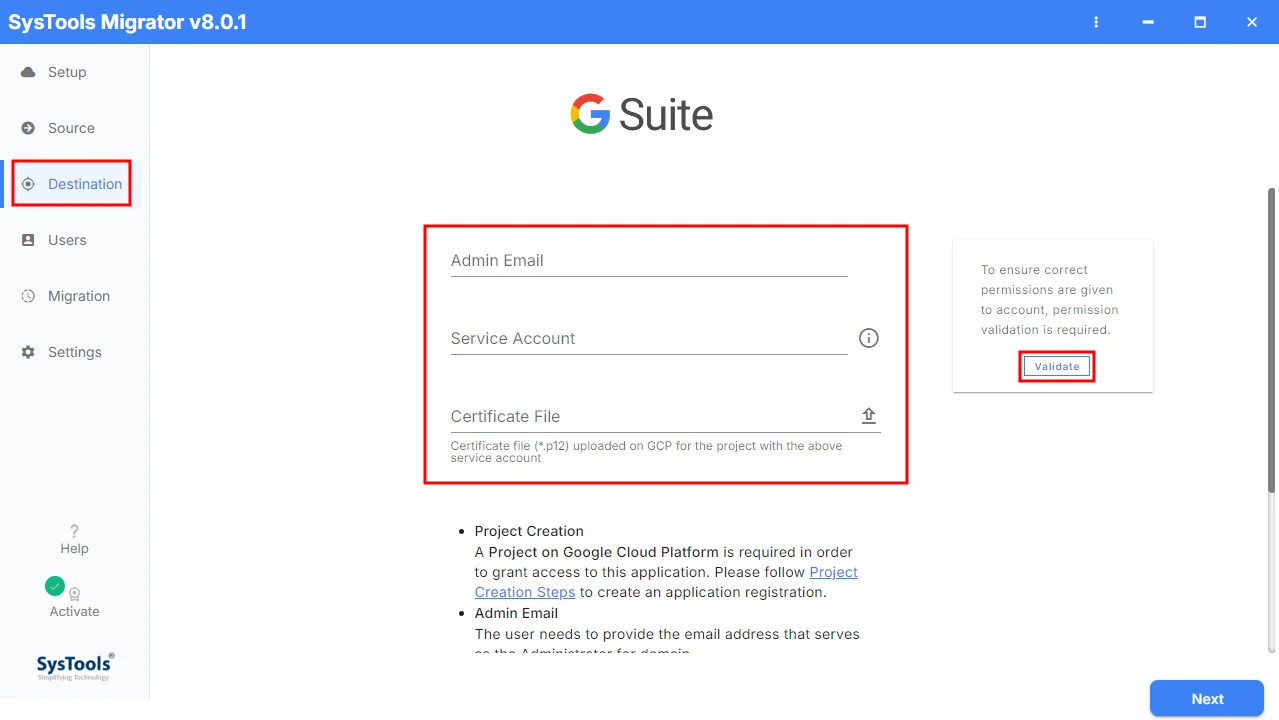
In the Destination G Suite window, enter Admin Email, Service Account Id, Certificate file of destination G Suite account and then click on the Validate button. See how to create project for G Suite. Google Cloud Console Project
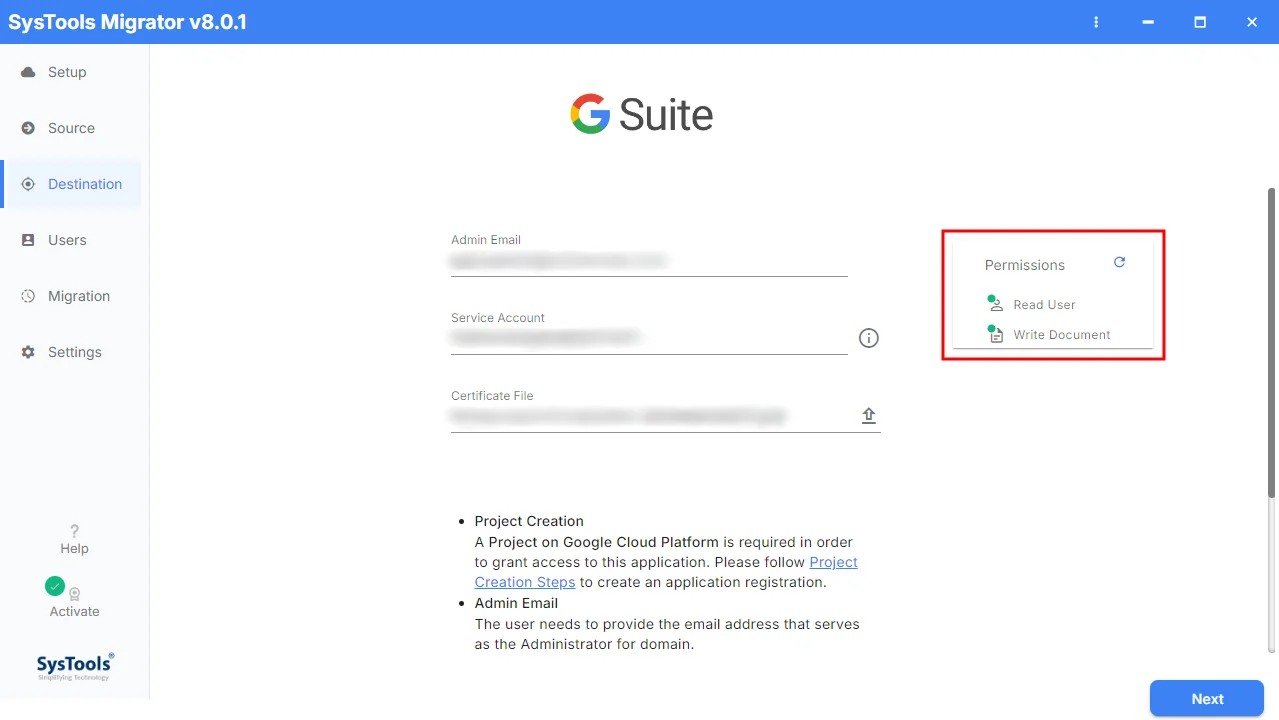
After validation, the permissions are displayed. Verify the permissions and click Next to continue.
Specify the source users to be migrated by clicking Fetch Users or Import Users. You can also click Download Template to use the provided user template.
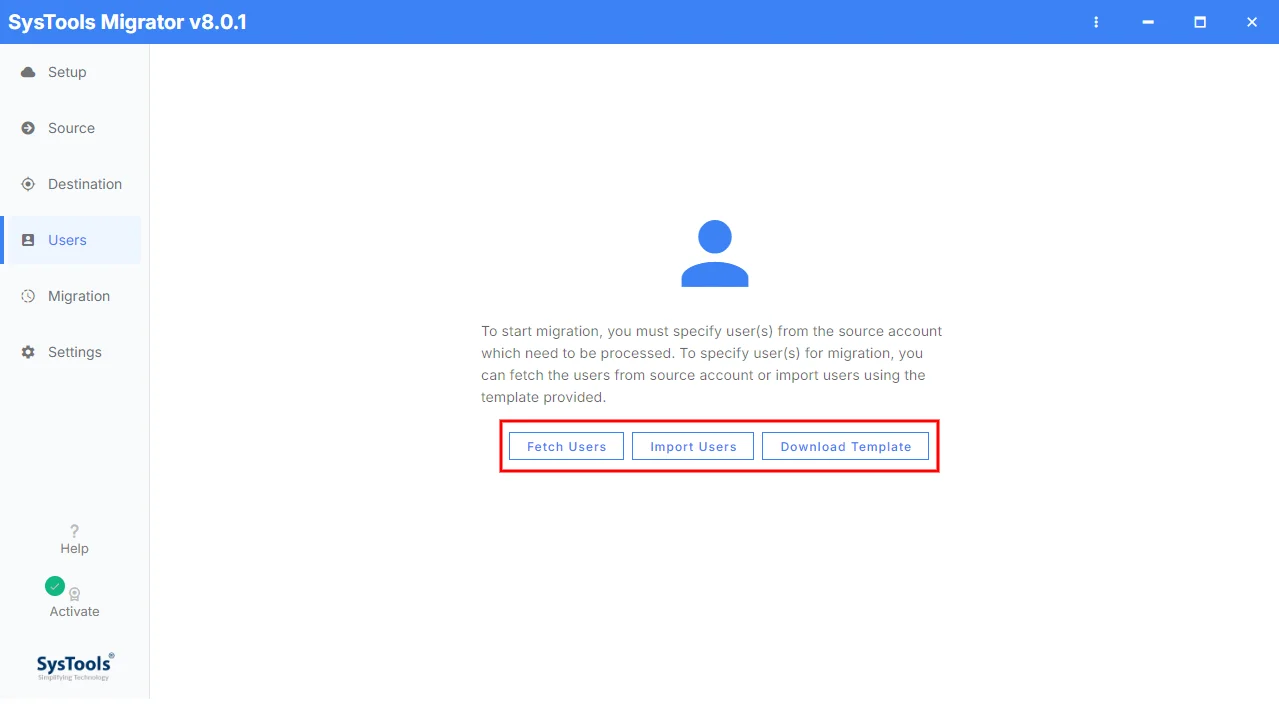
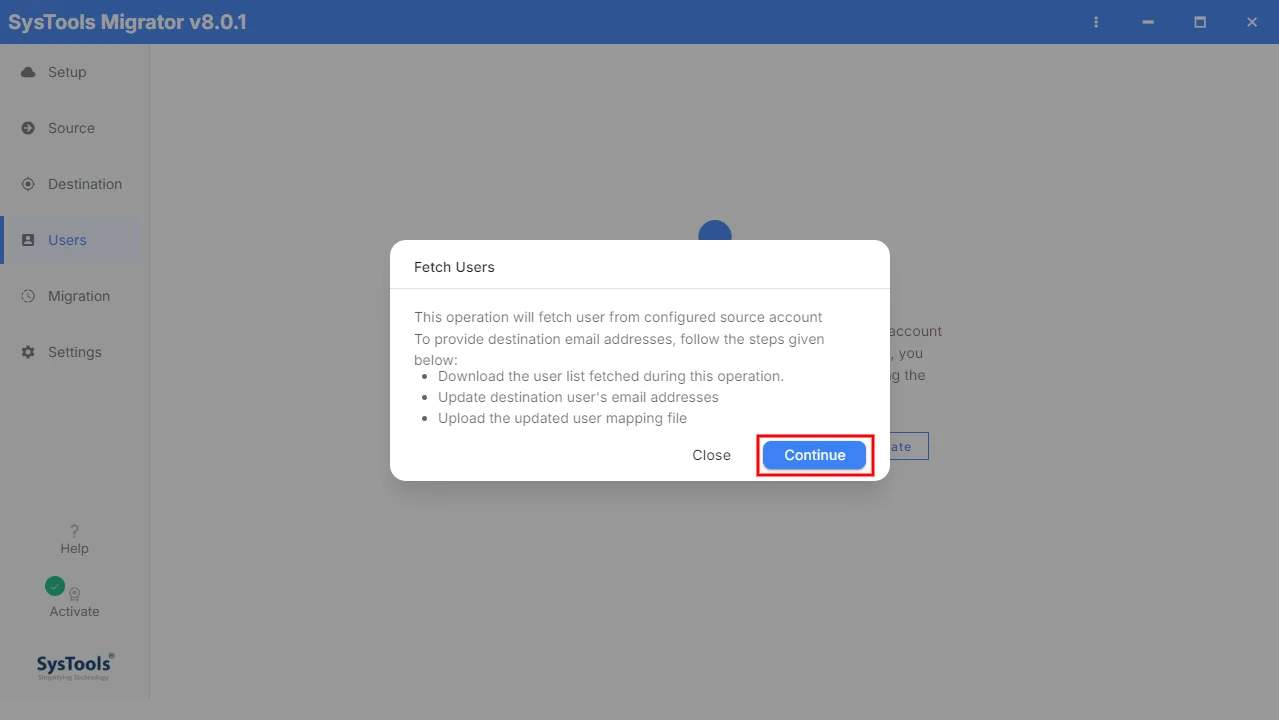
Fetch Users: This option will automatically fetch all the source user accounts into the tool.
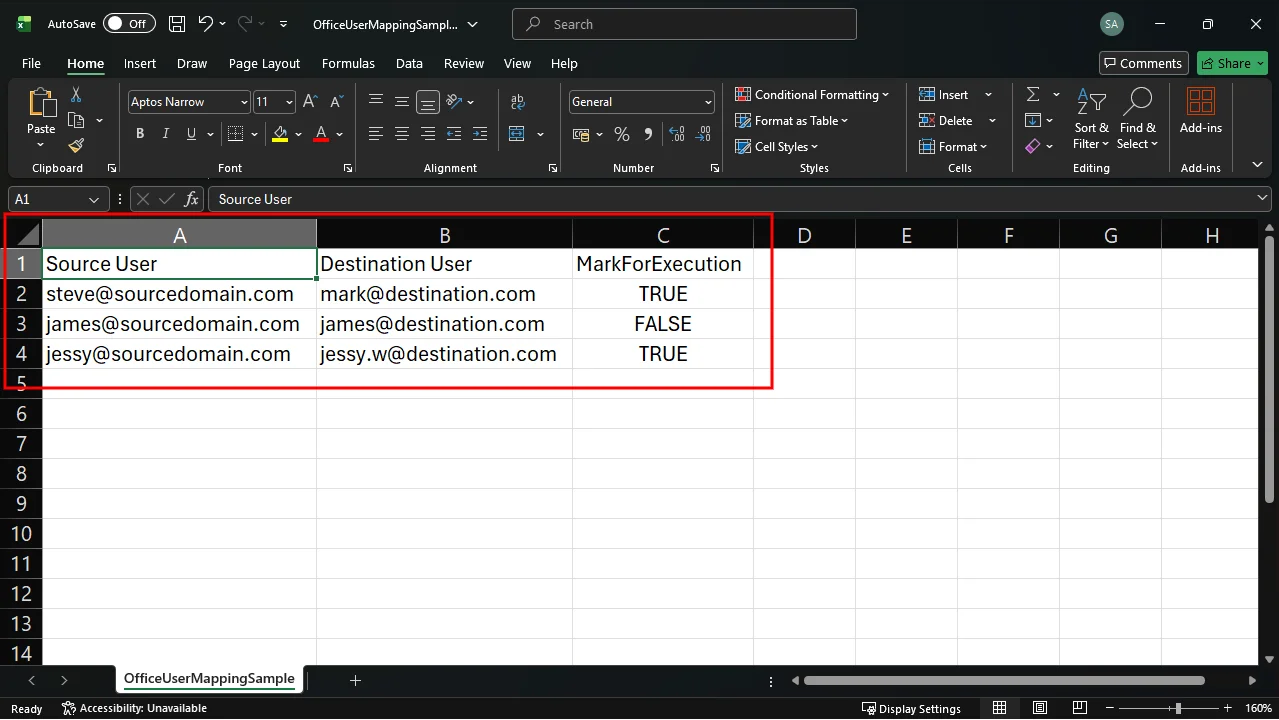
Import Users: This option allows to import a CSV file containing id of source and destination accounts.
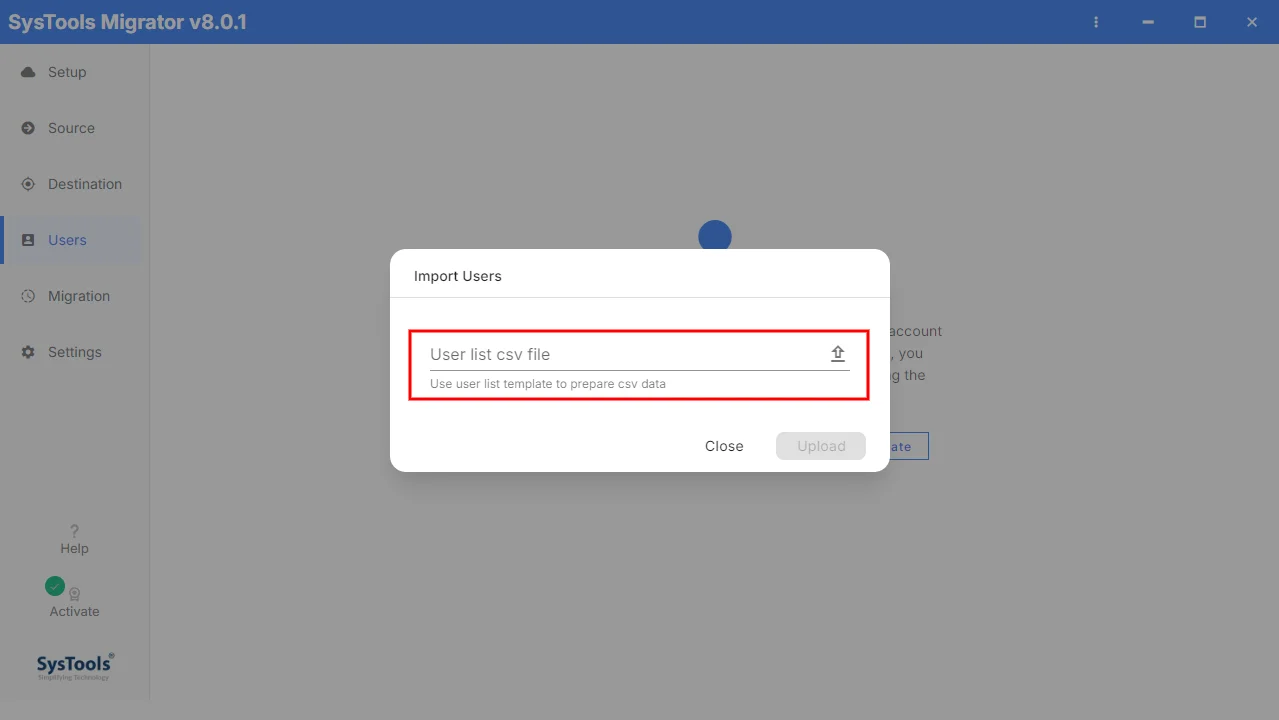
Click on Download Template to get the format of CSV file for import.
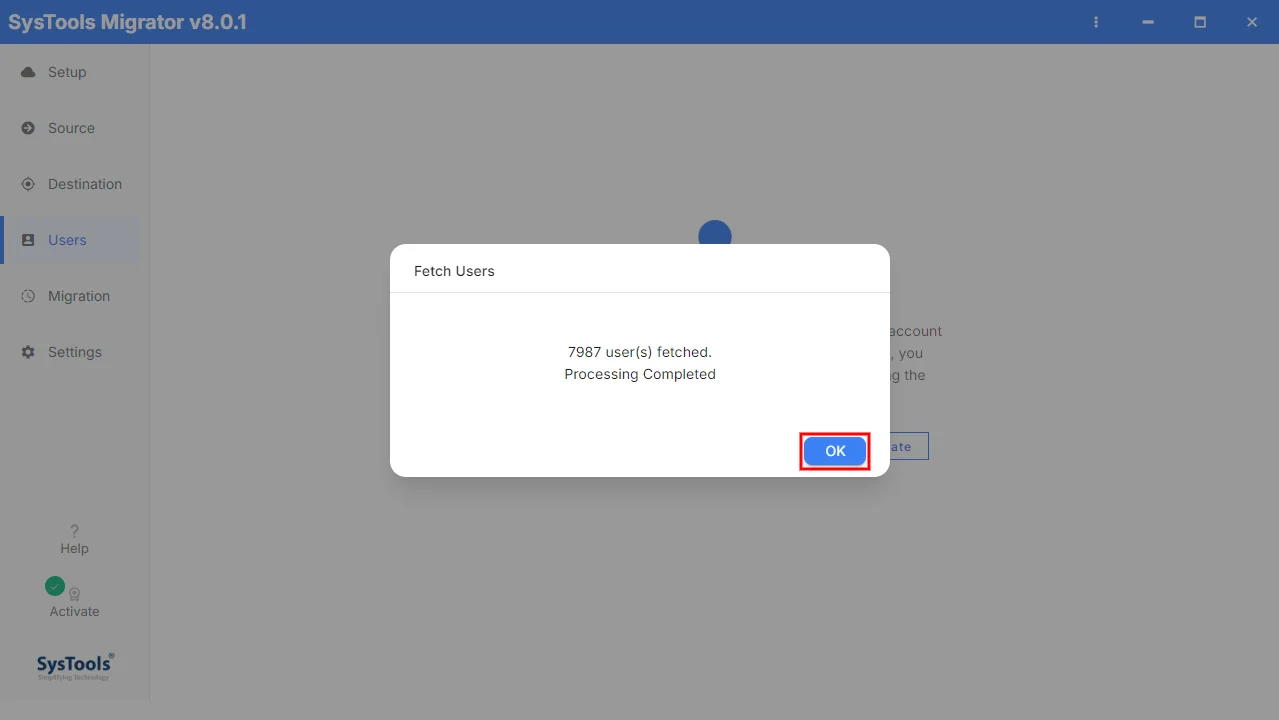
Once the users are fetched successfully, the total number of users is displayed. Click OK to continue.
After completing the fetching process, Select the Source users and enter the destination user account Id.
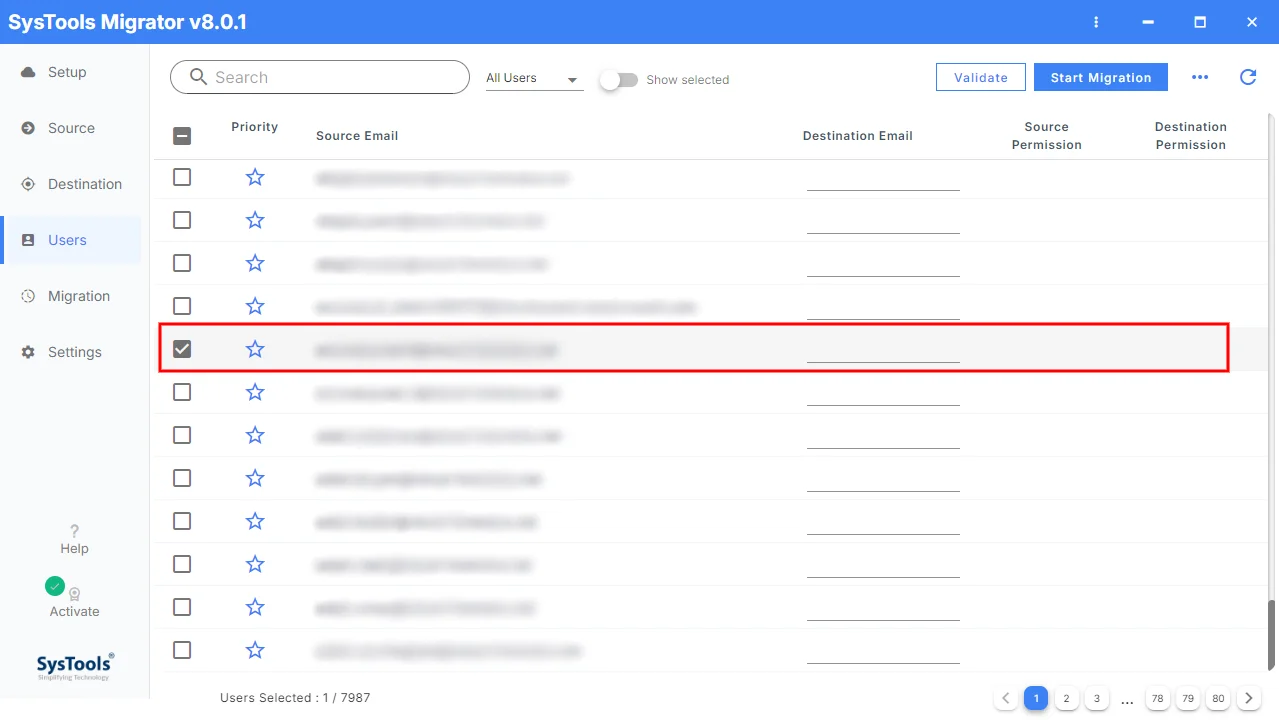
Use the filters at the top to view All Users, Permission Failed, or Permission Succeed users. You can also use the Show Selected option to to display only the selected users.
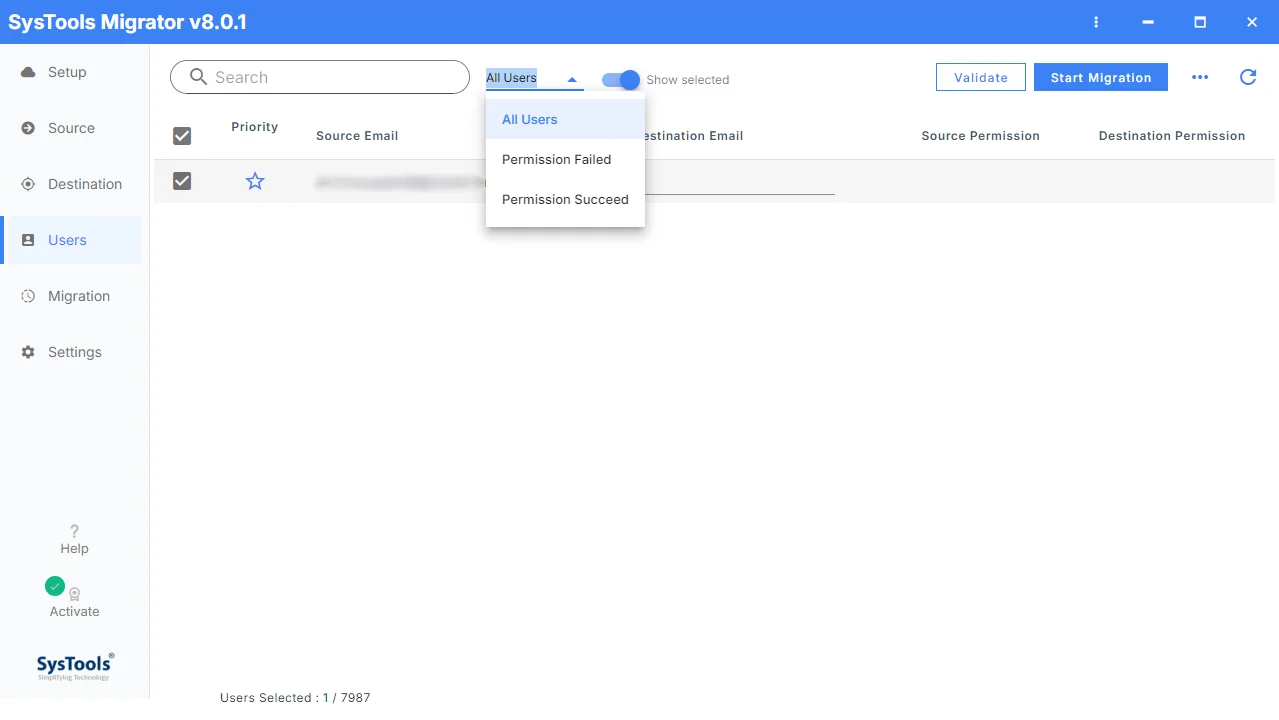
Enter the Destination Email for each selected user, then click Validate to verify the user mapping and permissions.
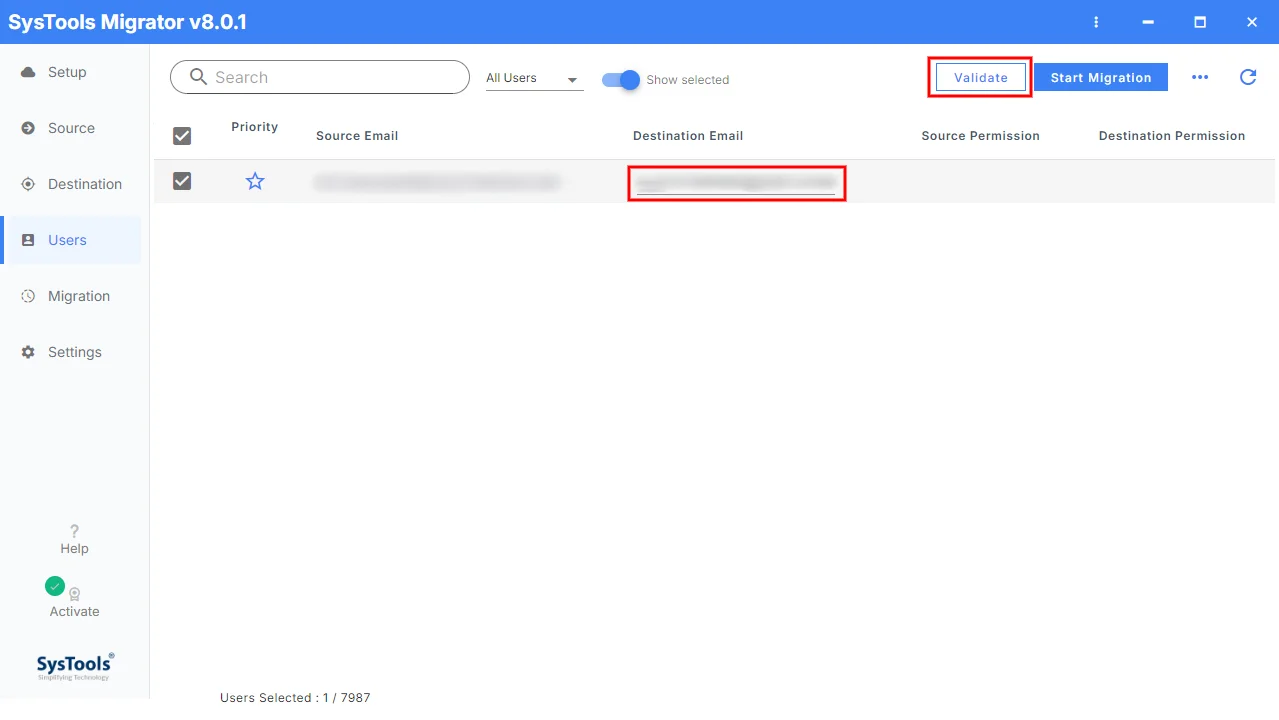
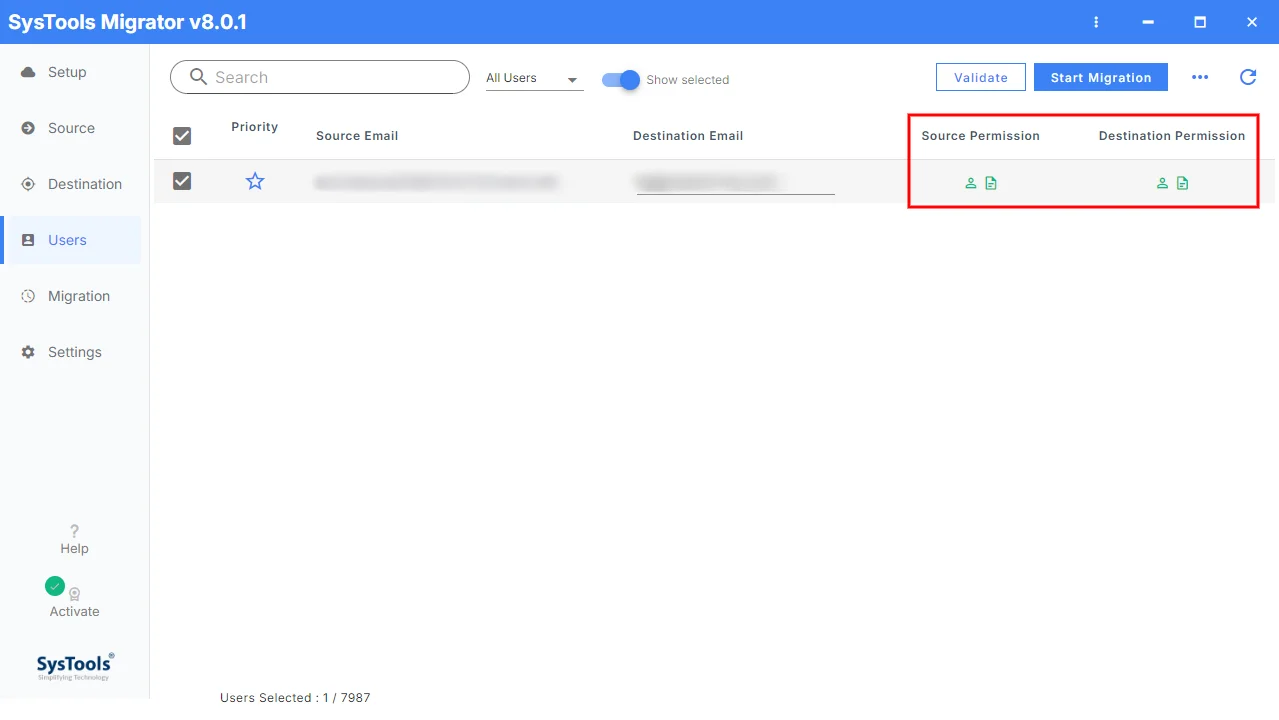
After validation, the Source Permission and Destination Permission status is displayed for the selected user.
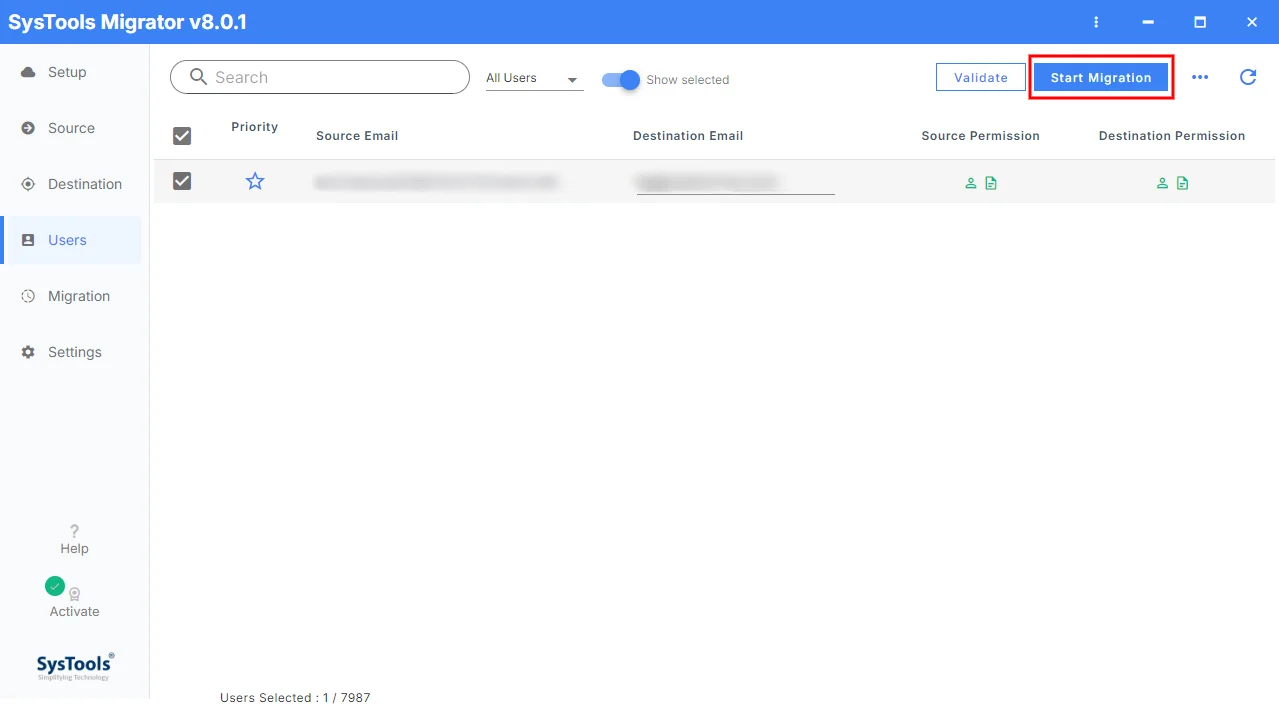
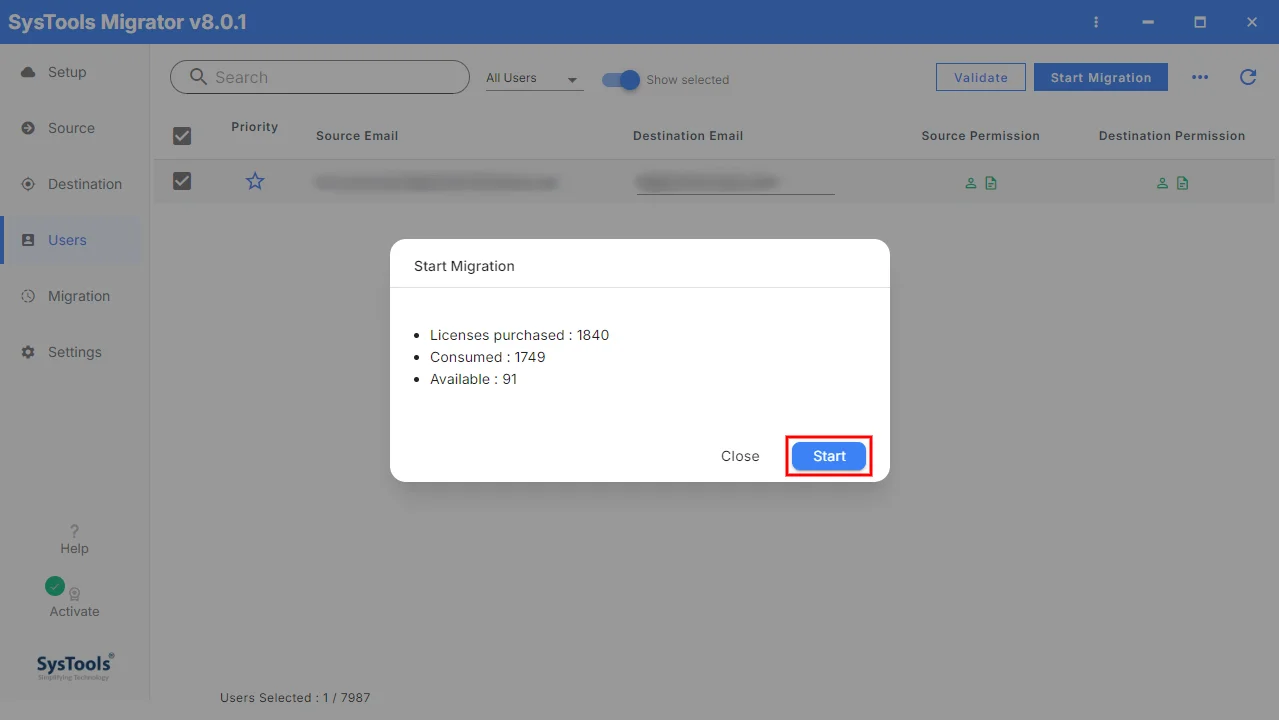
Now, click on Start Migration button for checking of license information.
Review the available licenses and click Start to begin the migration.
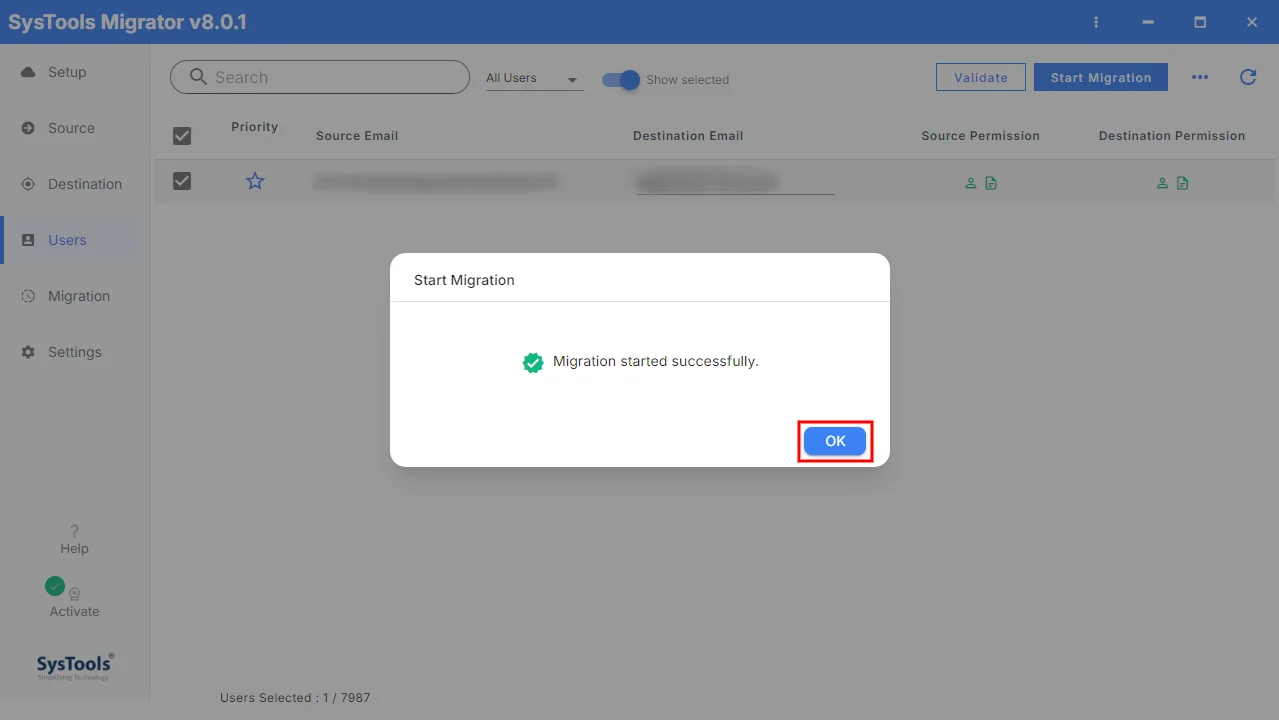
After clicking on the Start button, you will be prompted with a message displaying Migration started successfully.
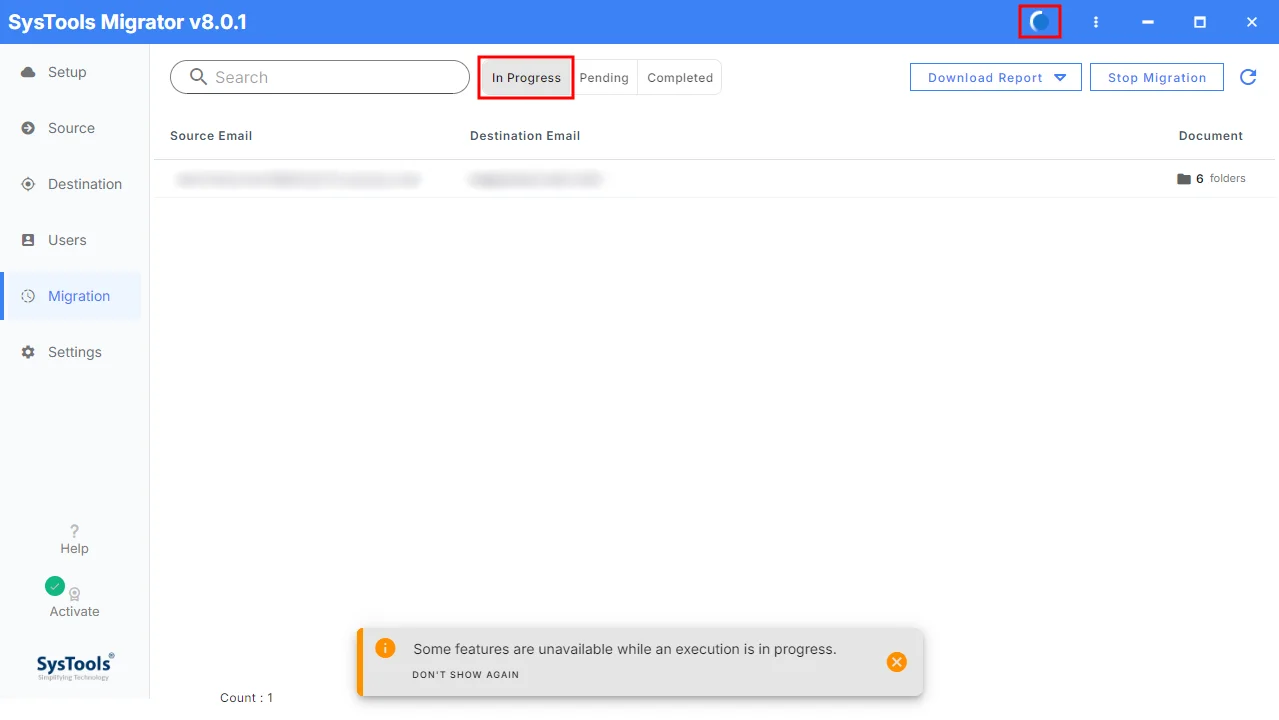
The migration is now running. You can track its progress under the In Progress tab.
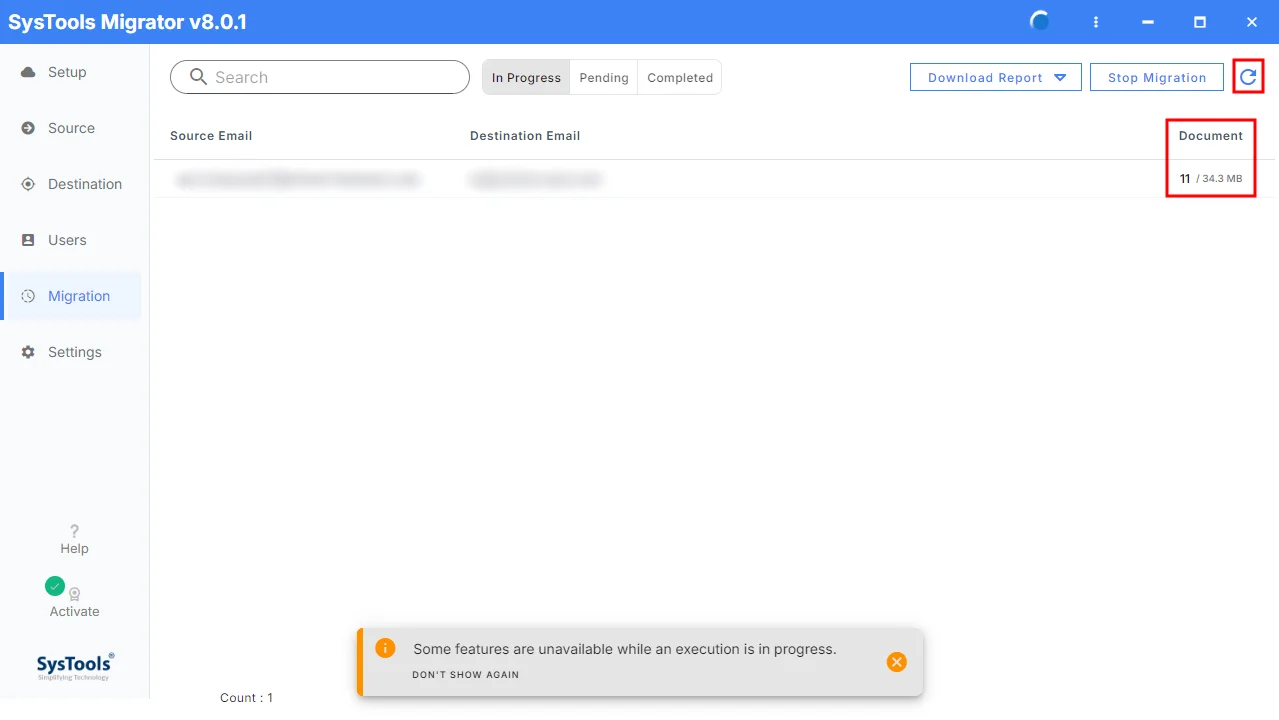
Click the Refresh icon to view the latest migration status and document count.
Once the migration is complete, select the Completed tab to view the migrated documents and their completion status.
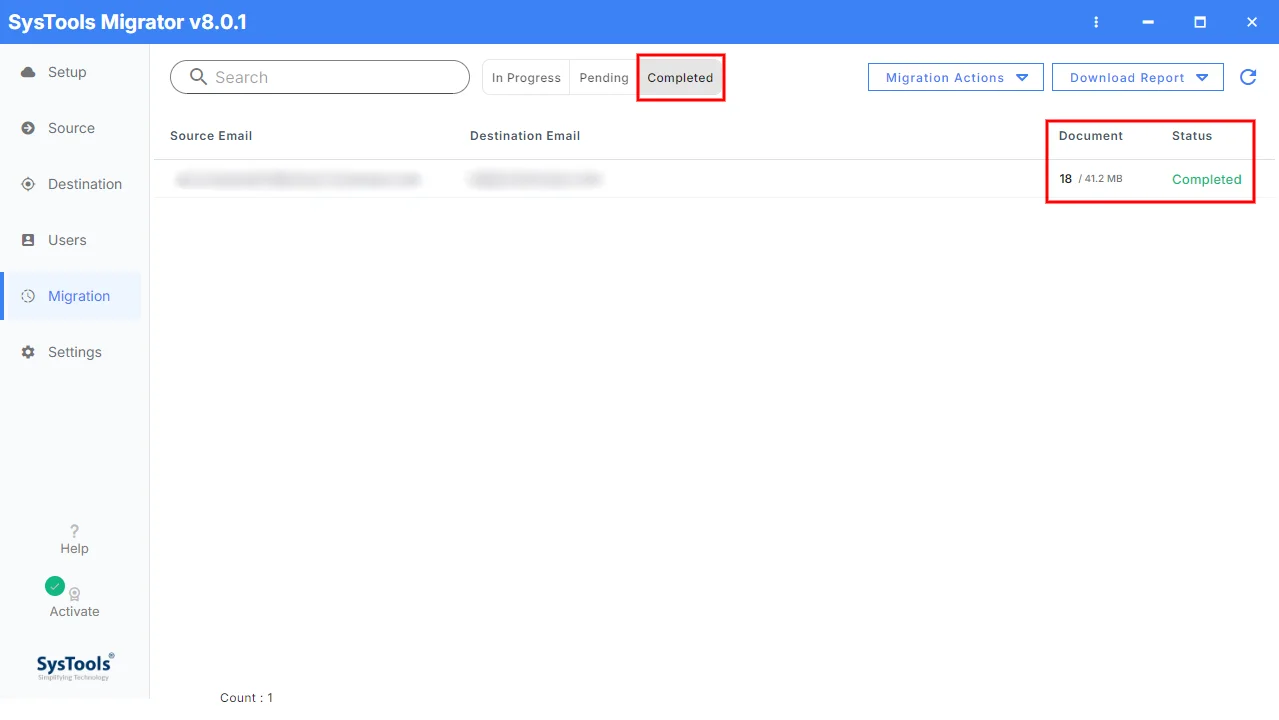
After completion of migration, click on the Download Report button to generate the detailed migration report.
The tool provides two options for downloading the reports:
Summary Report: The summary report will be a single .csv file containing migration reports of all the selected users for migration.
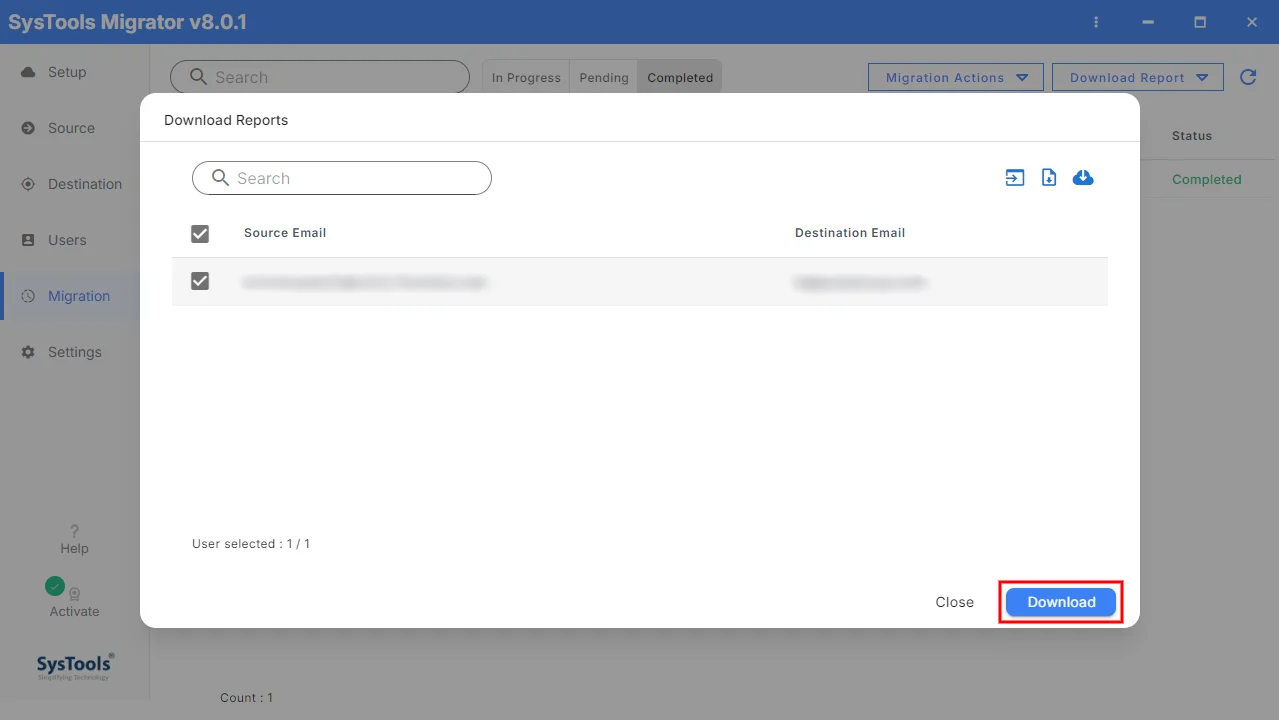
Detailed Report: The detailed report will be generated for each individual user, which contains details of category & the items migrated during the process.
Select the users for which you want to generate the detailed report and click on the Download button.
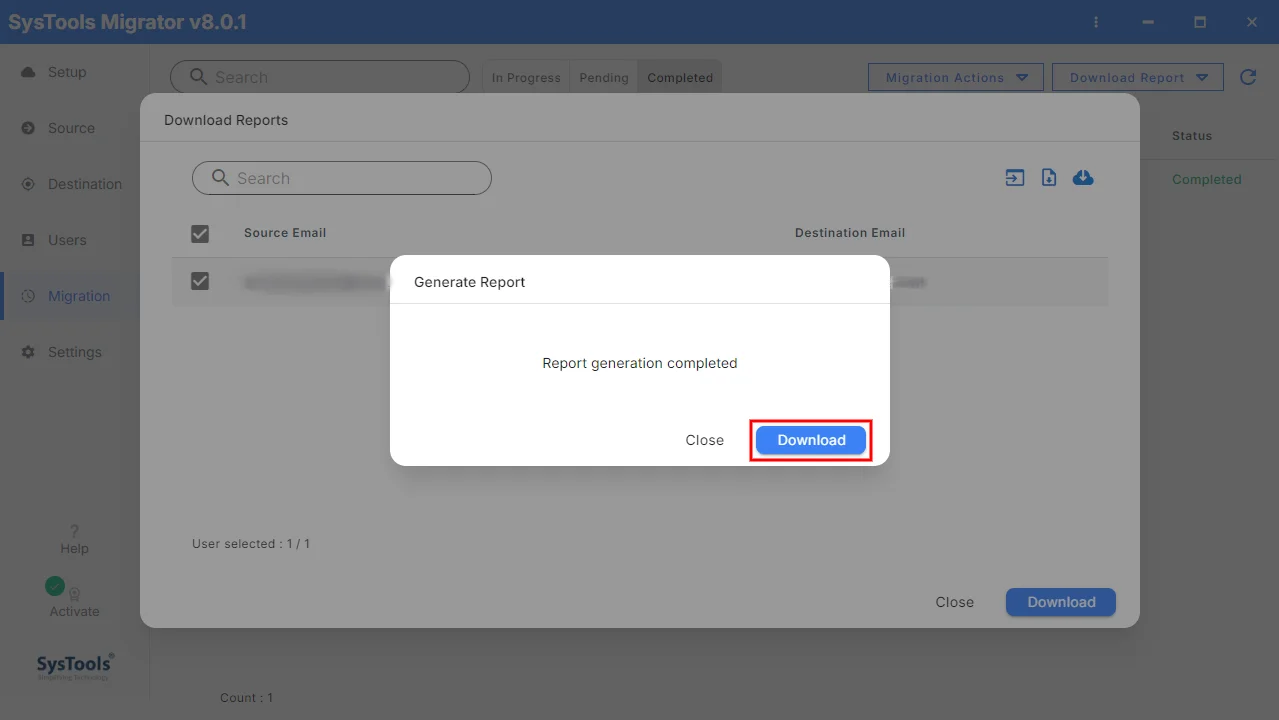
Once the report generation is completed, you will be prompted with a message. Click on the Download button.
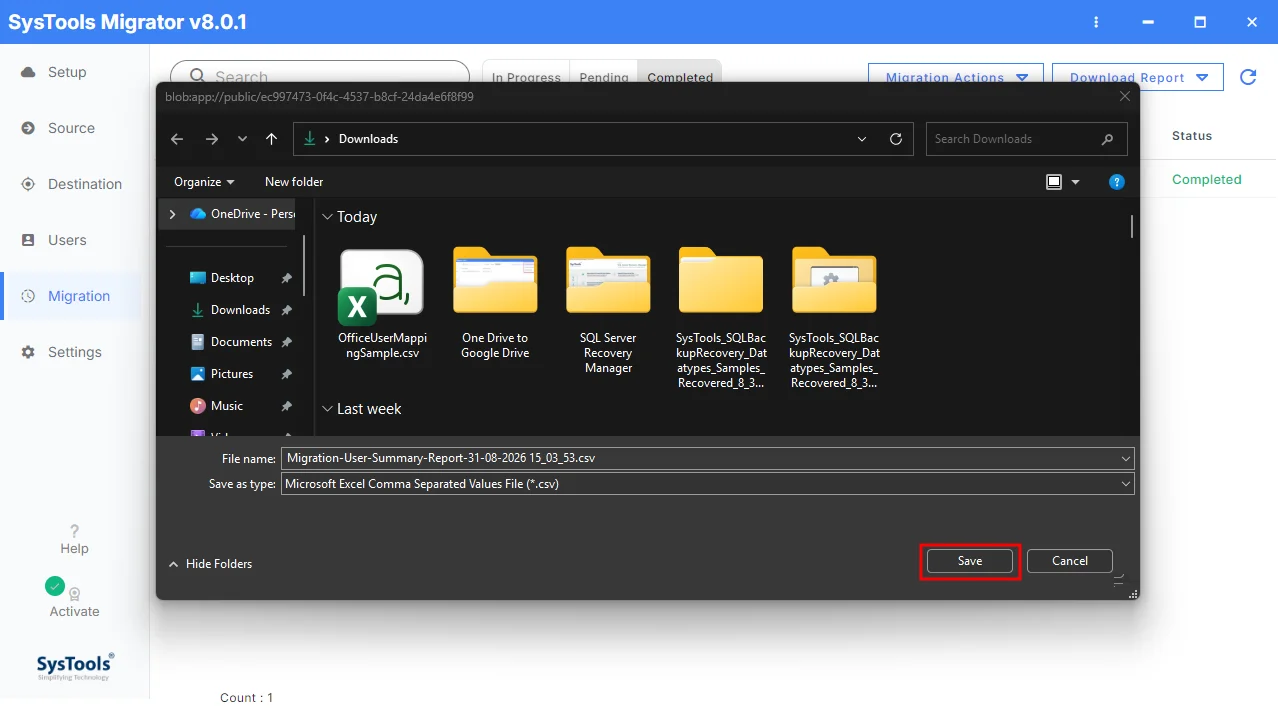
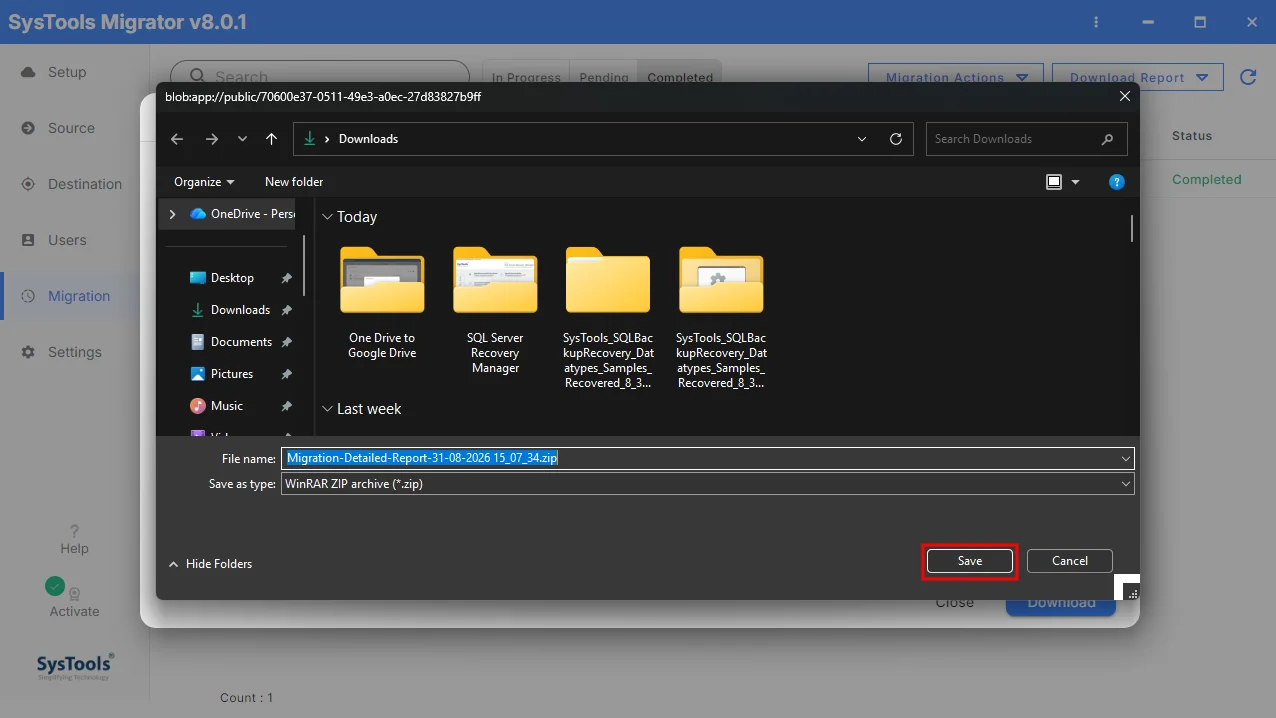
Browse a destination for saving the generated report and click on the Save button.
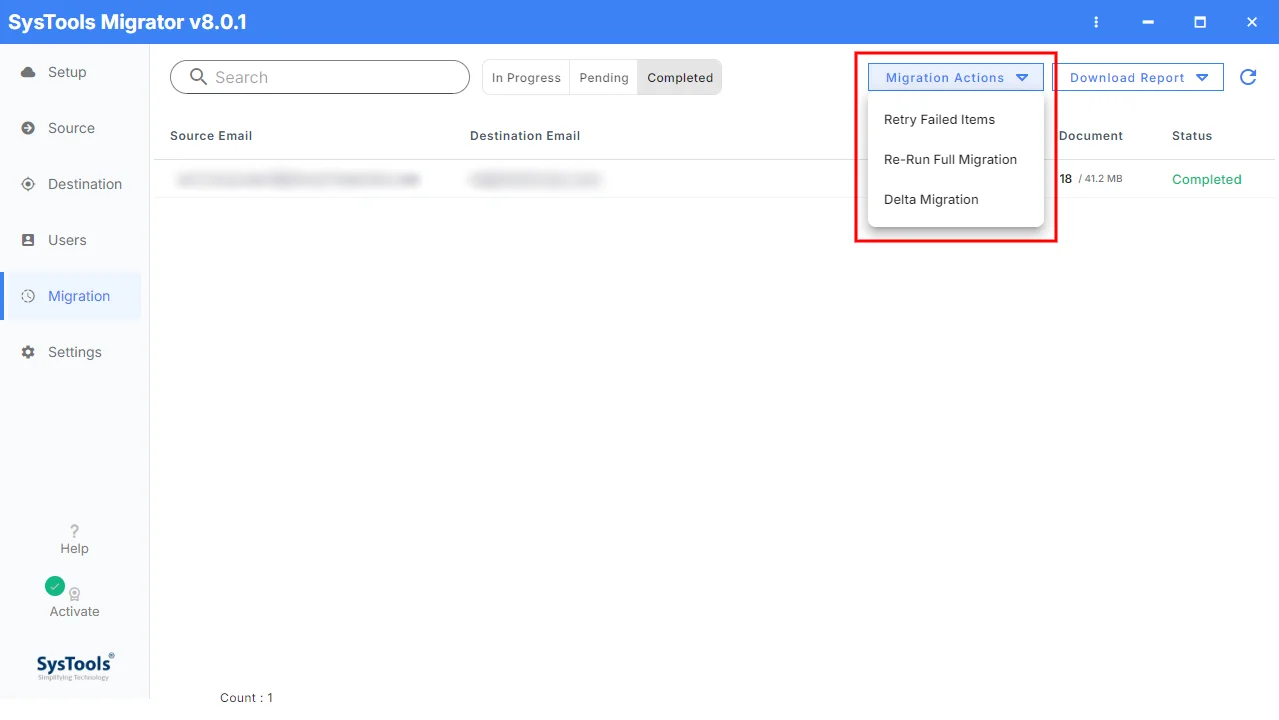
Use Migration Actions to retry failed items, re-run the full migration, or perform a Delta Migration.
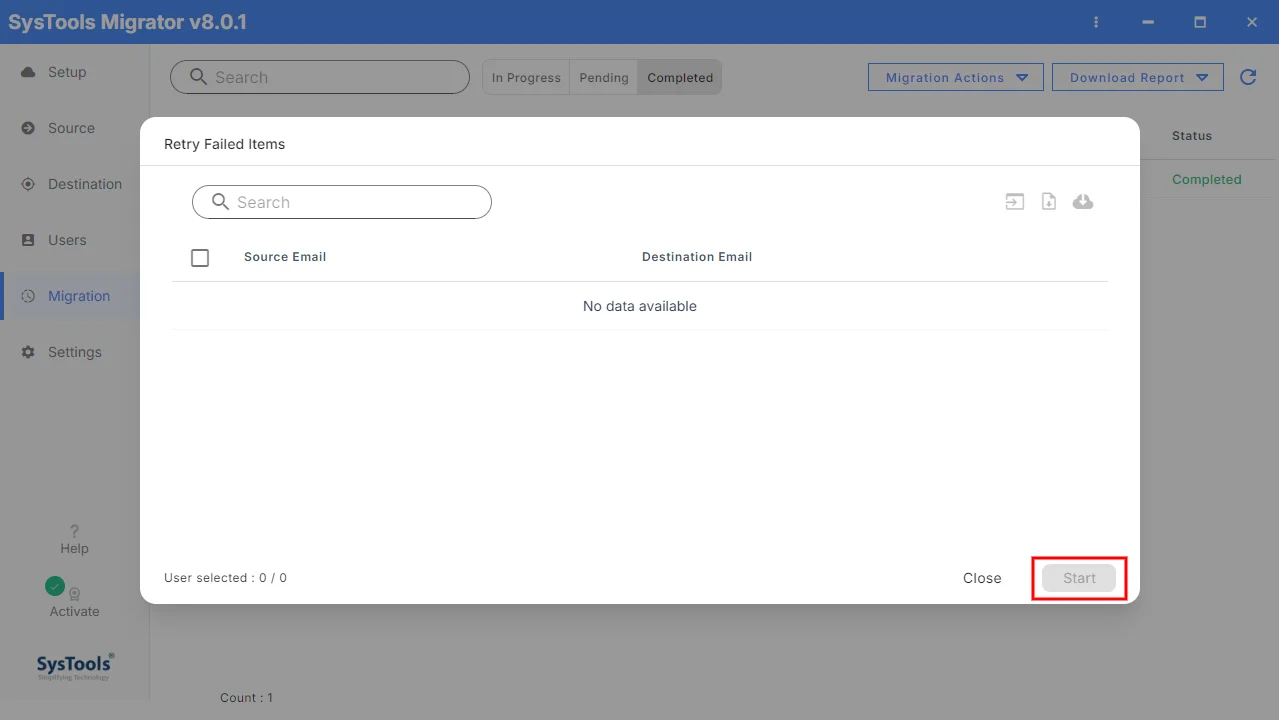
Select the users with failed items and click Start to retry the migration.
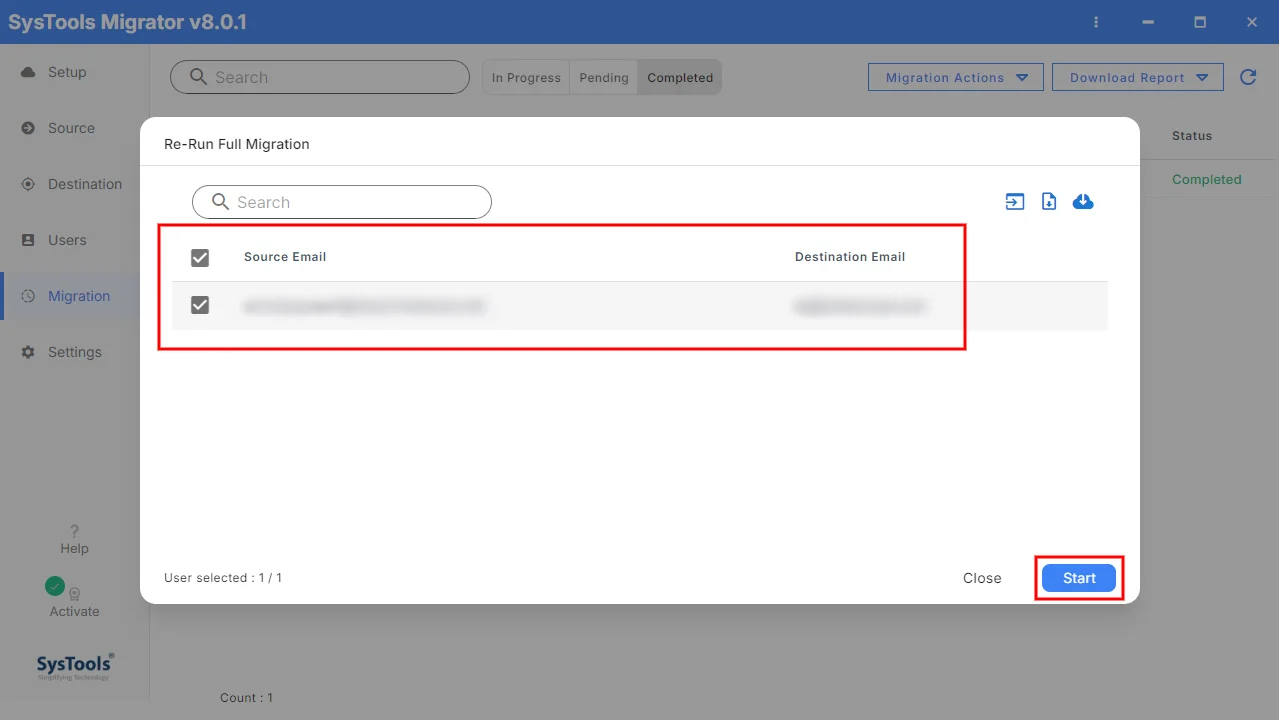
If you wish to perform migration again, select the users for the full migration and click Start to re-run the migration.
If you wish to perform "Delta Migration", select the users for Delta Migration and click Start to migrate only the newly added or changed data.
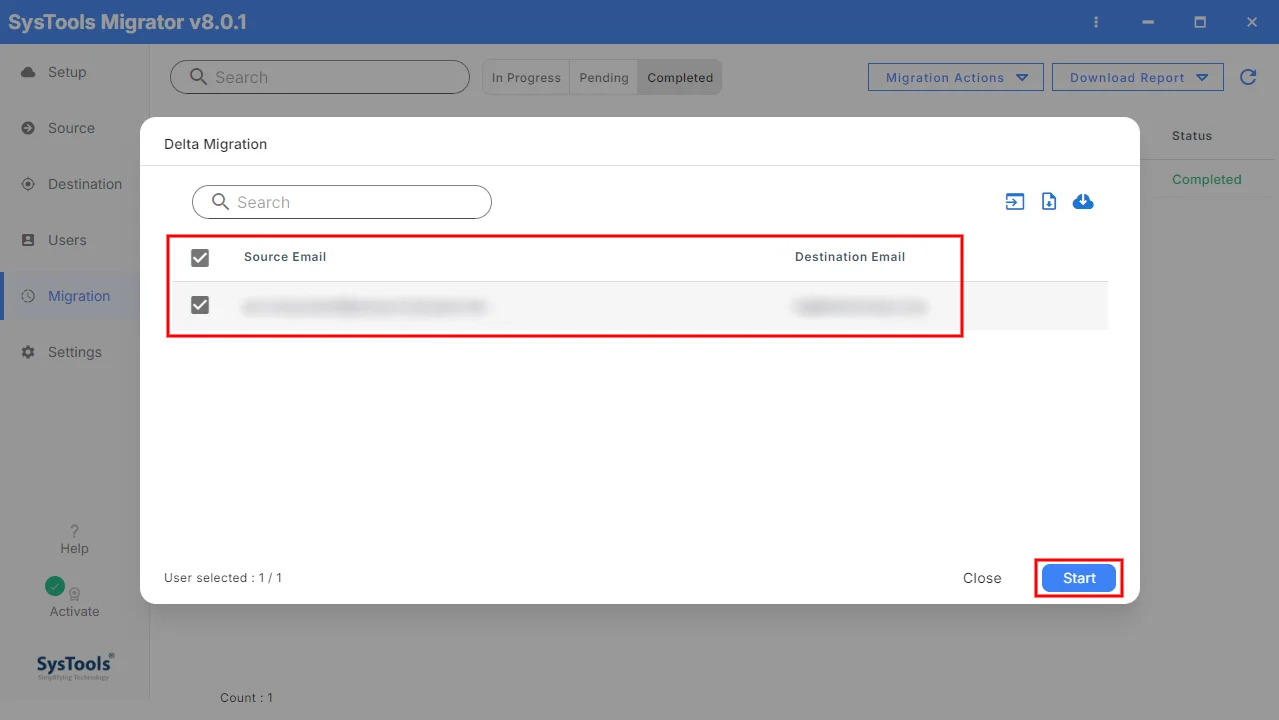
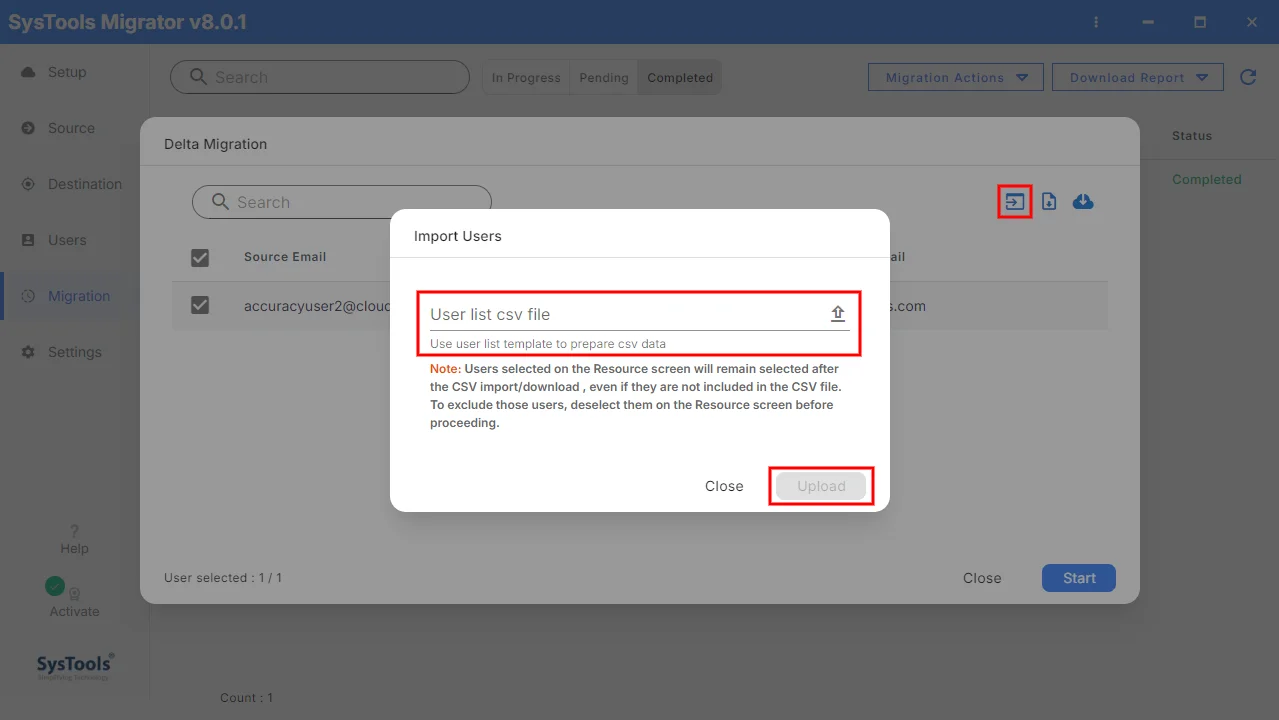
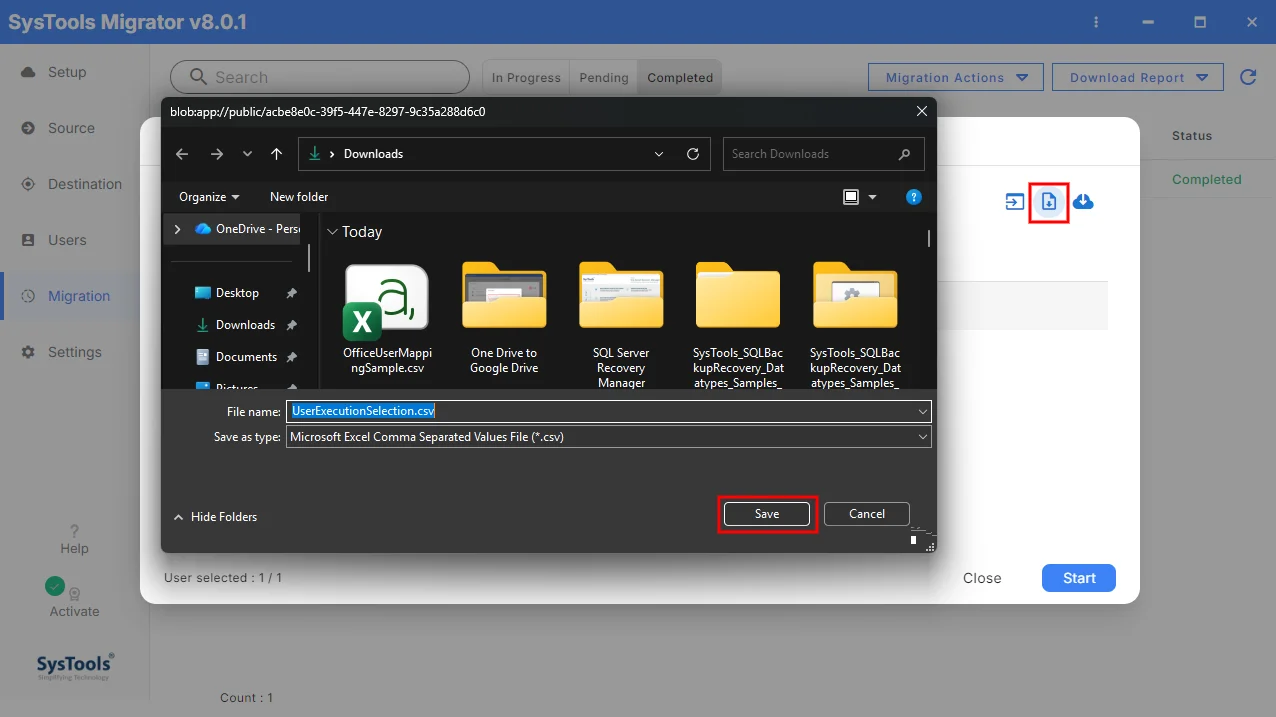
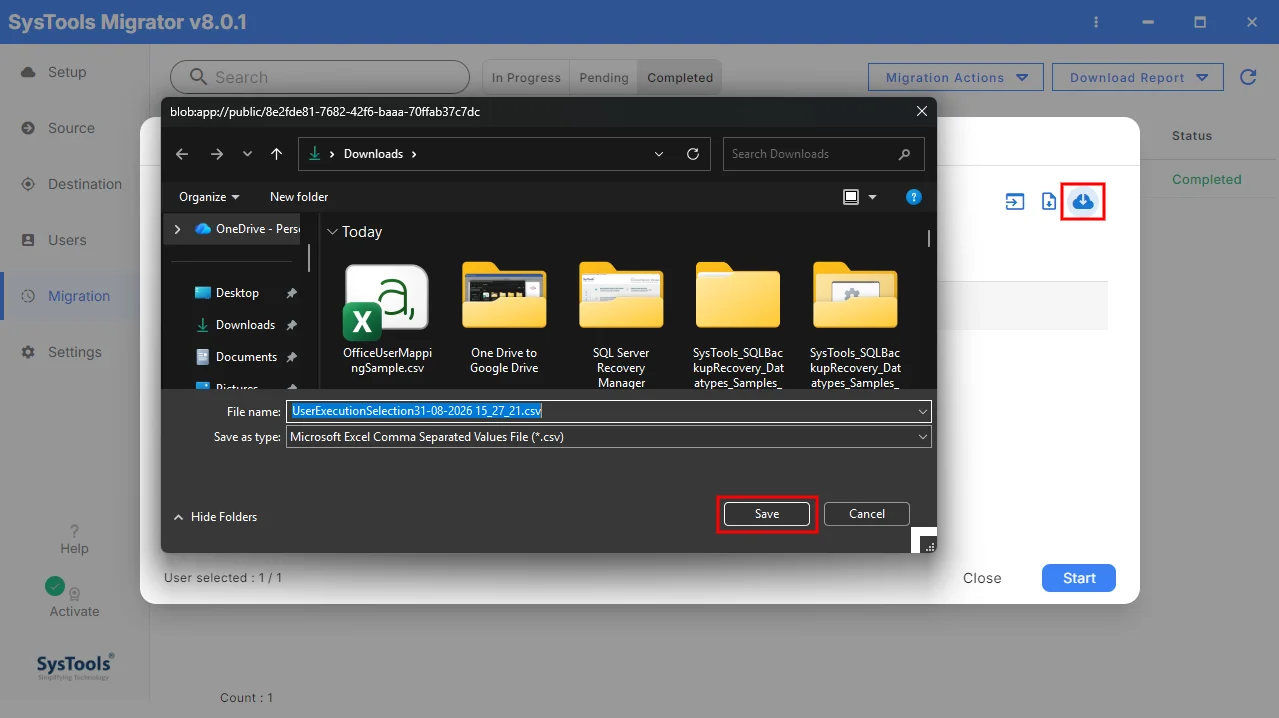
The tool also provides the following 3 options:
If you wish to import users, click Import Users and upload the CSV user list file containing the users to be migrated.
If you need a template for user mapping, click the Download Template icon to download the user list as a CSV file. Choose a location, enter the file name, and click Save.
Click the Download icon to download the user resource list as a CSV file. Choose the save location and click Save.
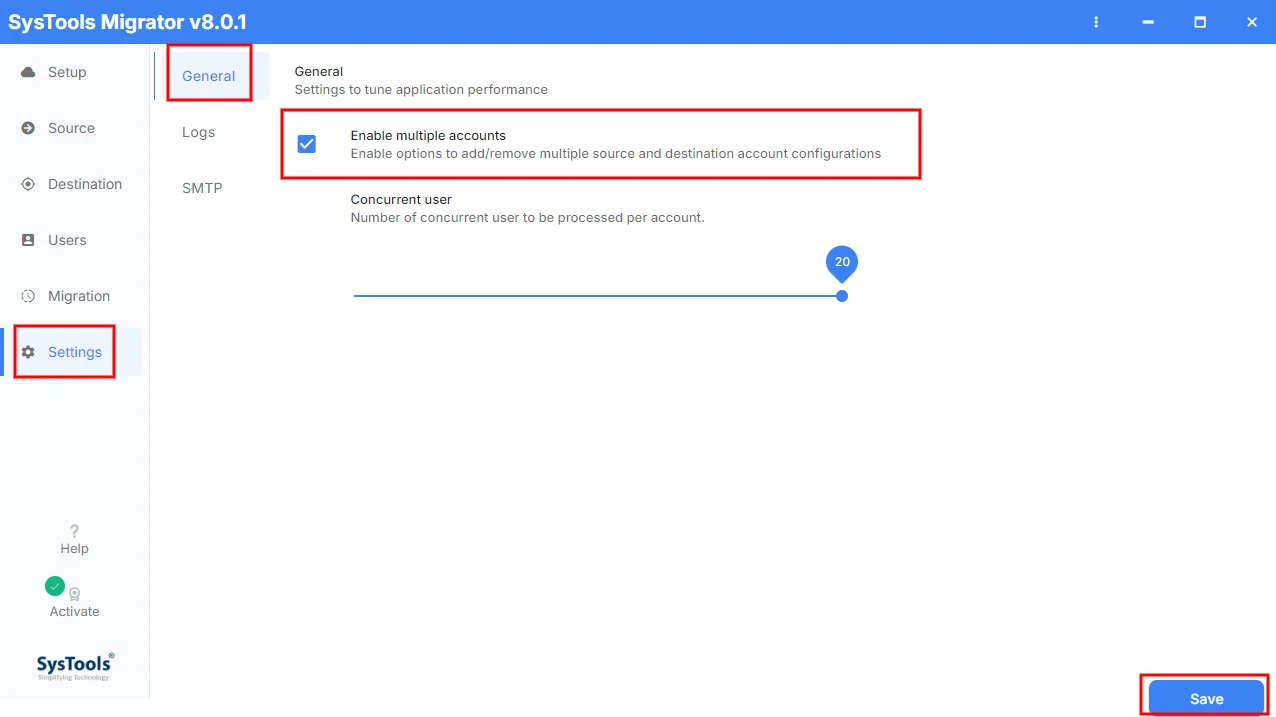
Navigate to the Settings tab and select General to manually tune the Concurrent user execution capacity slider.
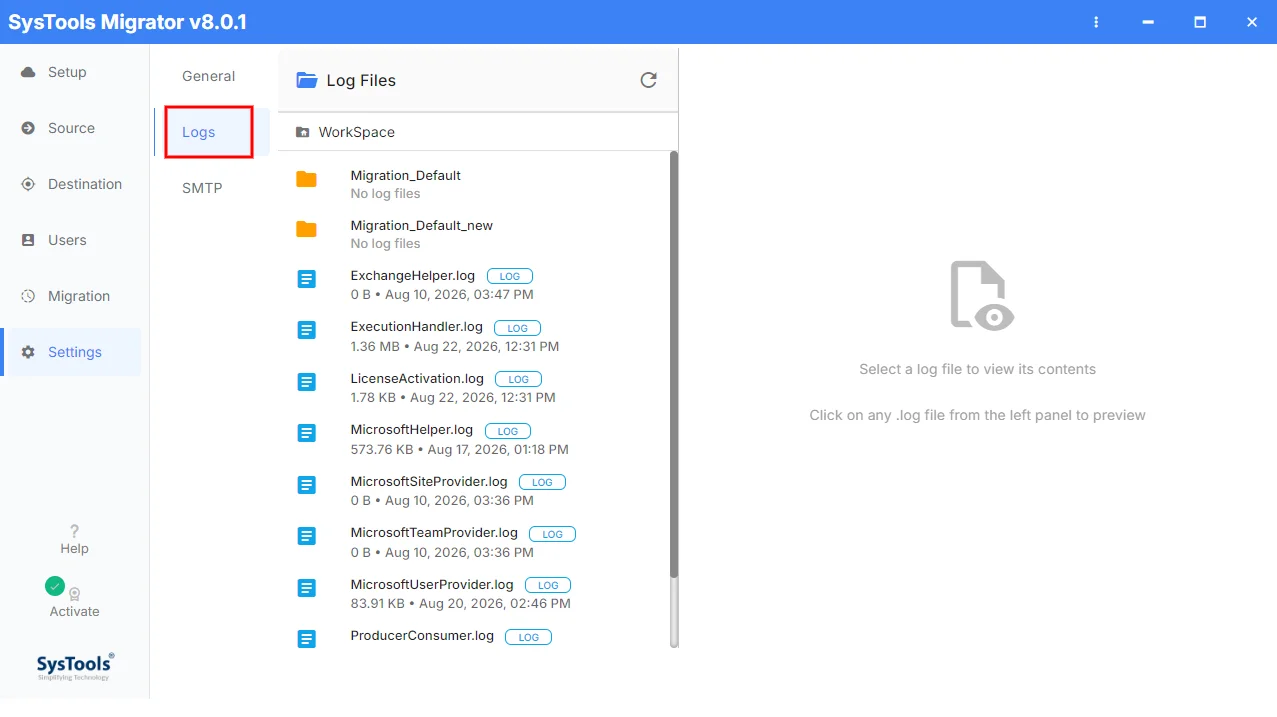
Select the Logs tab and click the LOG badge to immediately preview execution handler details inside the application interface.
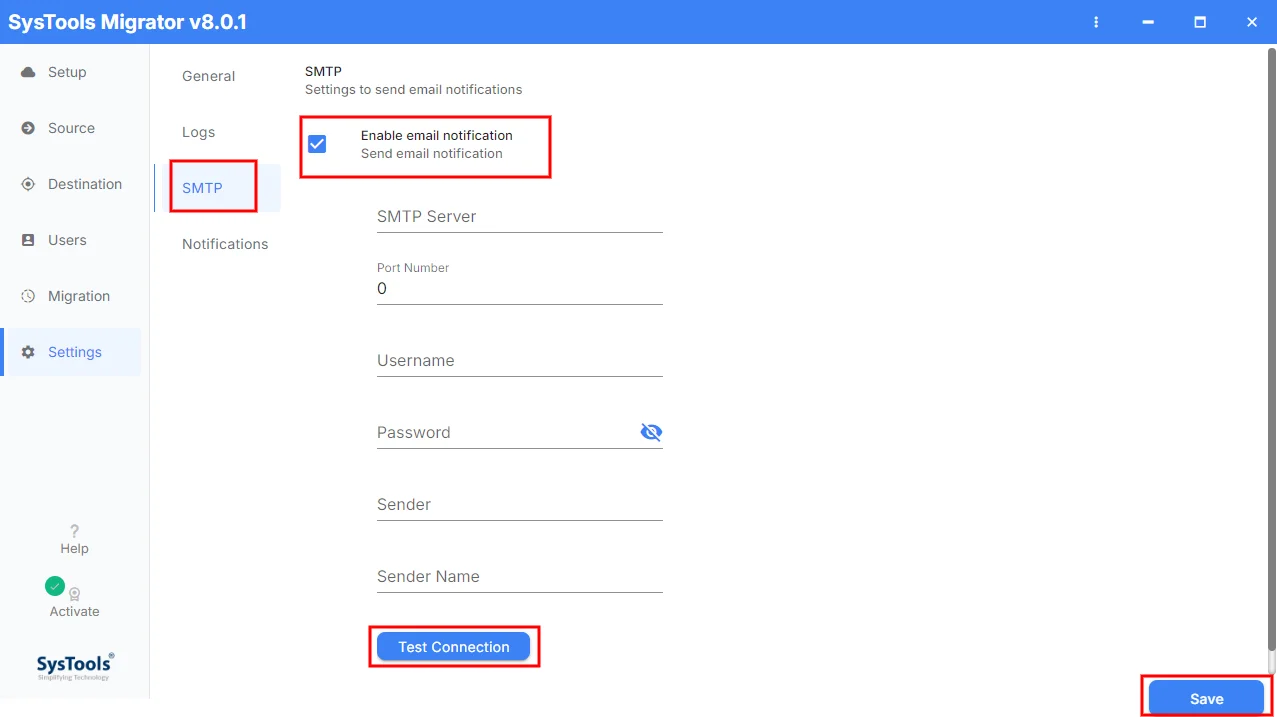
Access the SMTP tab, activate Enable email notification, and securely enter your server credentials.
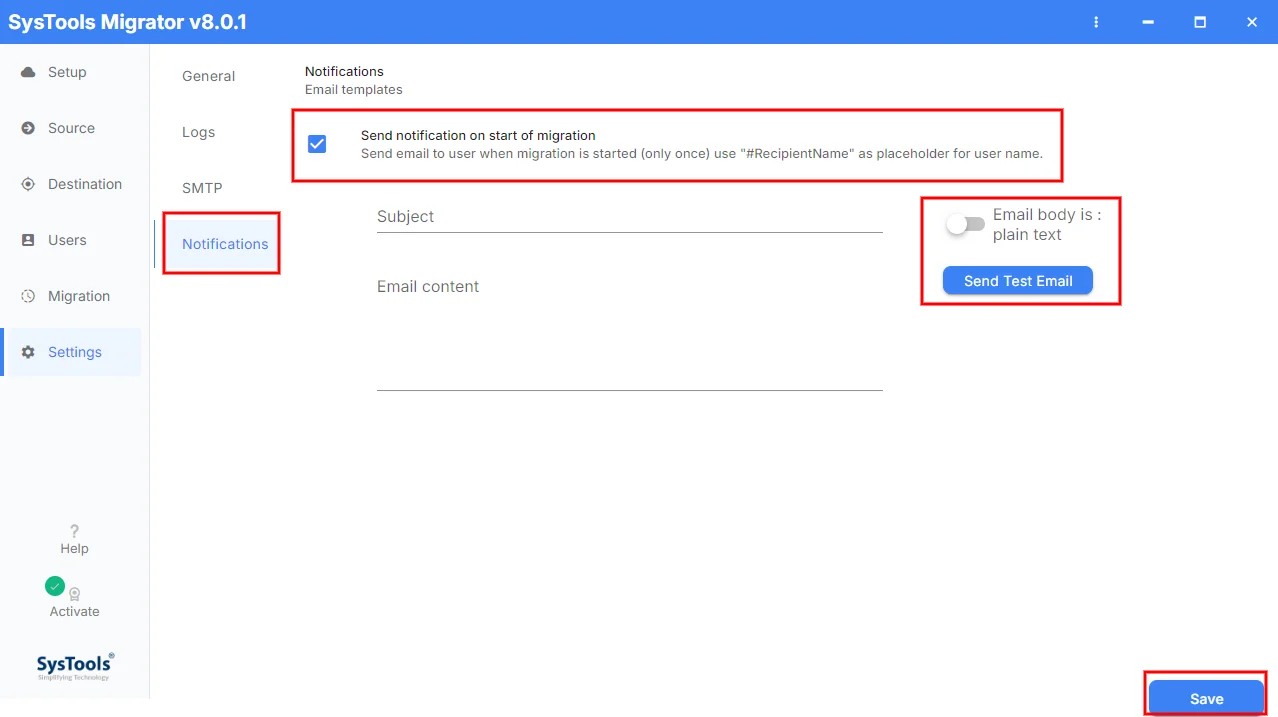
Select the Notifications tab to fully customize subject lines and email content logic for automated migration updates.